New to Adobe Premiere Pro? In this tutorial I will show you how to create a small film project in Premiere Pro from start to finish.
Everyone has a different workflow for creating their own film projects and there really is no ‘right’ or ‘wrong’. However, here are the basic steps that almost all video projects go through on their way from shoot to final export.
Creating a new project
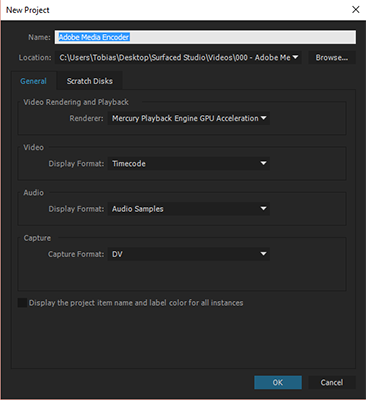
First, you need to create a new project. You have to define the location where you want your project to be saved on your hard drive and which locations Adobe Premiere Pro will use for temporary files.
Importing your media files
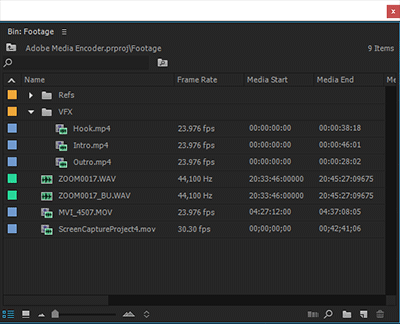
Once you have your project set up you need to import some media. You can import videos, audio files, images and many other types of visual content; Premiere Pro is pretty flexible. It is advisable to create folders within your project to organise all of your content so you can easily find what you are looking for.
Creating a new sequence
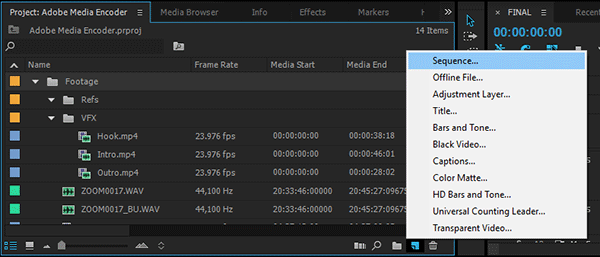
A sequence is a container for your media files, a template that you can use to organise your clips and then export into a final video file. There are multiple ways to create a sequence. The easiest way is to drag a piece of media directly onto the ‘New Item’ icon. Premiere Pro will automatically create a new sequence whose settings match the file that you used to create it.
You can also click onto the ‘New Item’ icon and select ‘Sequence’ from the context menu. You can then specify all of the settings for the new sequence manually before creating it.
Editing your project
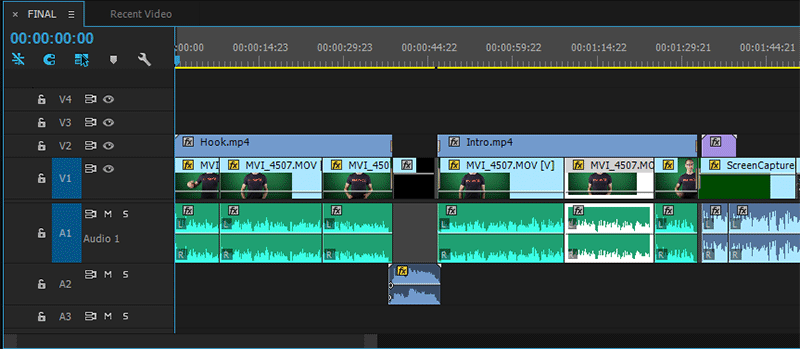
Once you have your sequence set up you can start to drag and drop your media items into the timeline, cut out the best parts and arrange them to create your film project outline. Make sure to familiarise yourself with all of the great editing tools provided by Premiere Pro and I guarantee your editing will flow a whole lot quicker.
Adding video transitions
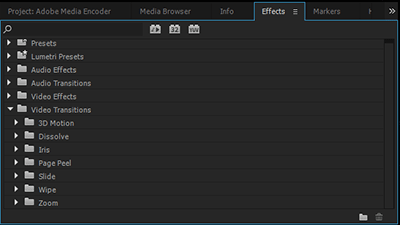
Transitions are used to blend between two consecutive clips. You can find a large number of transitions in Premiere Pro in the Effects panel, anything from simple fades and dissolves to 3D wipes. Simply navigate to the ‘Effects’ panel in Premiere Pro, open up the ‘Video Transitions’ folder and drag the transition you want onto the start or the cut between the clips in your sequence. You can double click a transition to adjust its settings such as the duration or the direction.
Adding video and audio effects
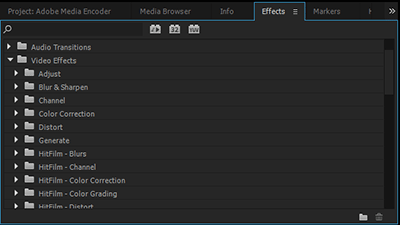
In the Effects panel in Premiere Pro you will also find a ‘Video Effects’ folder. In here you will find large number of cool deformation, colour correction, styling effects inbuilt into Premiere Pro. Simply drag the effect onto the clip you want to apply them to. With the clip selected, you can tweak the effect parameter in the Effects Control panel.
Adding titles
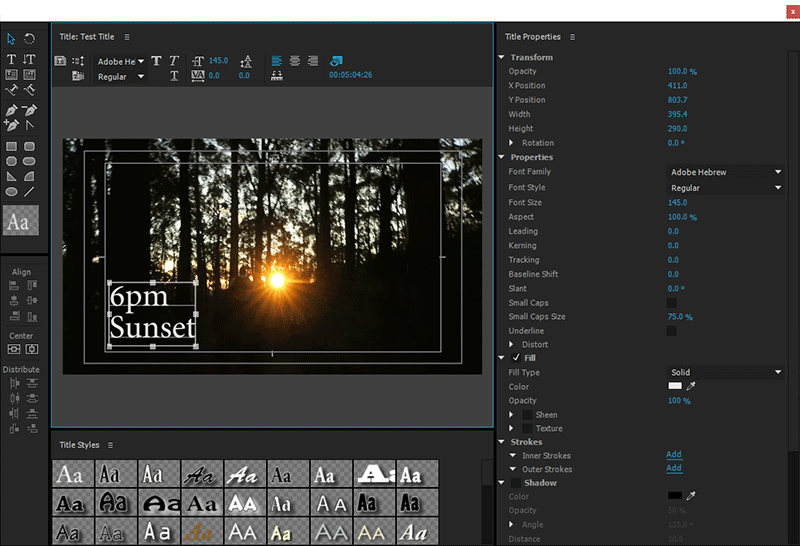
Titles are usually text elements, but can also contain icons and graphics, that overlay your footage. You can create titles by clicking on the New Item icon and then selecting ‘Title’ from the context menu. Double click the title to bring up the title editor. In the title editor you can then define the elements in your title. Once you created the title, simply drag it from the project panel anywhere into your sequence to place it within your edit.
Exporting your sequence
Once you are happy with your sequence, you can export it. Before you can export a sequence you need to place the start and end markers – you can do this by positioning the timeline indicator where you want, right clicking it and selecting ‘Mark In’ and ‘Mark Out’. This will define the working area of your sequence and tell Premiere Pro which parts of the sequence you want to export.
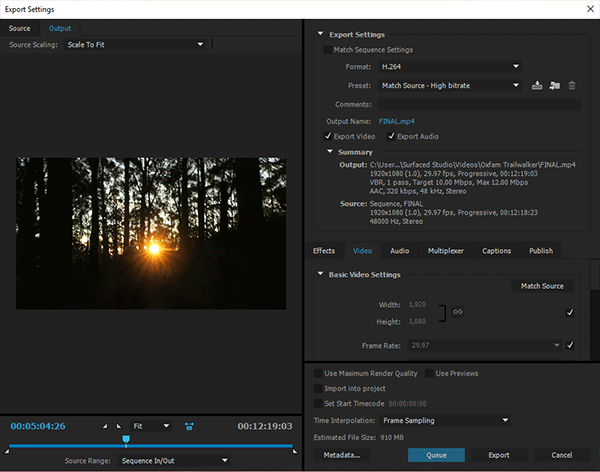
With your working area defined, make sure the sequence is selected and then select File –> Export –> Media from the menu. Configure your export format, codec, custom overlays and your target filename and then click the ‘Export’ button. Personally I am a big fan of the H.264 codec and it’s created some great results without an overly large file size.
Once you exported your video from Premiere Pro you can upload it to YouTube, Vimeo or Facebook or send it off to your friends and family.
Colour correction & colour grading
So where to go from here? If you are serious about your film projects you will likely want to – at the very least – perform some basic colour correction and colour grading on your footage to make it pop a little more.
Here are two tutorials, one for colour correction and one for colour grading. Keep in mind that the principles should apply no matter what editing software you are using and most of the tools demonstrated exist in one form or another in almost all video programs.


10 Responses
Hi Mr. Hunter– First of all you´re my favourite teacher-very entertaining – THX !!–and I learned a lot from you guys..here´s my question.How can I import animated PowerPoint Slides into Premiere Pro?–I would be very grateful if someone could help me on that –Premiere Pro 2017/ Wndows 10
Hi Mr Hunter – thank you for the feedback. I do not believe that you can get PowerPoint slides into Premiere Pro. You may have to screen record yourself going through the slide and importing into Premiere Pro as a video
Great
Hello Mr Hunter, Im really trying to begin editing gameplay or even tutorials. I would like to know how to add a facecam or 2nd video in the video (if i typed that right.)Thanks.
Who is ‘Mr Hunter’?
lol
I watch your tutorials and they are great
* I watched absolute beginners & advanced editing.
How can get the rest to Watch pls
Check out my YouTube channel – all of my current, old and new videos / tutorials are uploaded on there on a weekly basis :) https://www.youtube.com/surfacedstudio
The Adobe premier pro tutorial for beginners is quite interesting, concept of color correction is explained well. Thanks for the tutorial showing the good concept.
No worries and thank you for the positive feedback :)