In last week’s tutorial I talked about how to create convincing looking muzzle flash (gun fire) effects. This week I decided to cover the second half of the equation and talk about how to make your bullet hit effects looks awesome :)
I hope you enjoy this tutorial :)
How to Make Realistic Looking Bullet Hit Effects – Visual Effects 101
The Preparation – The Overlay Layer
One of the most frustrating things about creating visual effects for bullet hits is to ensure all the blood/debris/sparks appear behind your actors or objects in the scene. Imagine masking them out frame by frame and then you decide to move them or replace them with different footage. You end up having to go
through the whole frame by frame masking nightmare again :(
To avoid this, I have decided to go another way and it has worked out pretty well so far :)
Instead of masking out the elements to sit behind my actors or objects, I rotoscope out the actors or objects and create an overlay layer. I then place all blood/spark/debris effects on top of my base footage layer without masking and then place the overlay layer on top of that. Instantly, all bullet hit effects appear to be sitting behind the elements in the overlay layer :D
And the best thing about this solution: it’s flexible! I can move or replace all bullet hit elements without any extra work required.
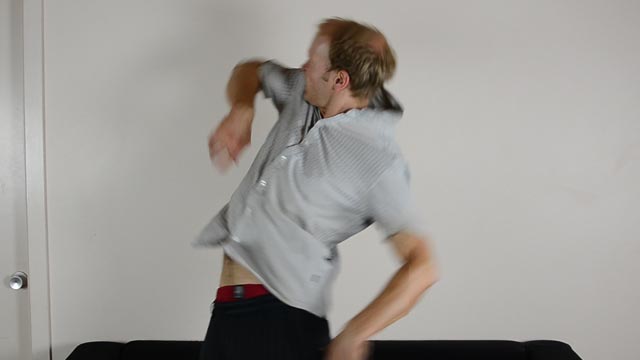
Starting with the base footage, we first rotoscope out our actor for the duration of the bullet hit to create the overlay layer. In After Effects CS5 and up, I highly recommend using the rotobrush tool to help you with this task as it can be a little tedious. The rotobrush tool is not perfect, but it does make your job a lot easier :)
Be sure to enable the ‘refine matte’ option on the rotobrush effect, it will make the edges of your overlay look cleaner.
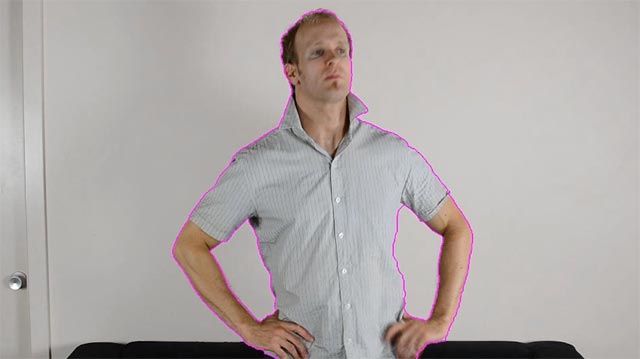
Because the rotobrush effect is really slow to render, we render out our overlay layer. To maintain the transparency of the video, I usually export as AVI and set the output channels to RGB+Alpha.
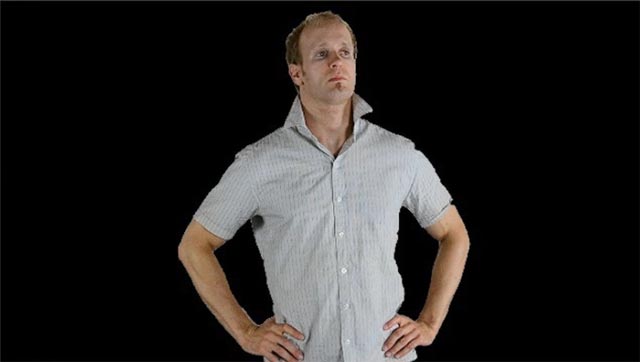
Once we’ve done that, we can reimport the clip into your scene and place it on top of your base footage. Don’t forget to disable the rotobrush effect on your base footage as we no longer need it. I usually don’t like to delete it just in case I need to make adjustments and re-export the overlay :)
Now let’s create the actual bullet hit effect!
The Bullet Hit
Now that we have the overlay layer created, we can add some blood splatters for the bullet hit onto the wall behind the actor. Simply take a blood splatter elment and place it above the base footage but under the overlay layer. Without any extra work the blood appears to be sitting behind our actor :)
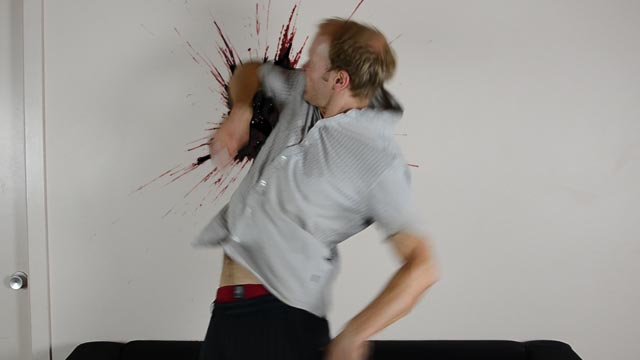
Next, take an image of a bullet hole or a damaged plaster wall and place it over the blood effect layer. Scale it and position it right over the centre of the blood. You may have to add a curves adjustment to ensure the lighting is correct and the bullet hole fits into the scene. Again, notice that no masking is required.
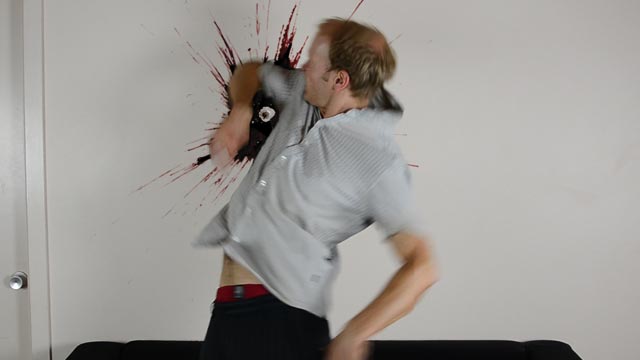
One important thing for the bullet hit is the blood mist cloud. When a bullet hits a person, the impact usually creates a small explosive cloud of blood mist due to the force of the impact. To simulate this effect, we add a smoke or dust element on top of the overlay layer. We then colour the layer red.
In After Effects, you can do this by applying the Colorama effect. Leave the input as ‘Intensity’ and select ‘Red Ramp’ for the output. If your effect appears to be almost solid red, it is because Colorama is overwriting the alpha channel. To fix this, expand the ‘Modify’ tab and untick the ‘Modify Alpha’ checkbox.
I usually like to make the blood a bit darker so it looks a bit more realistic, but feel free to tweak it as you like. Make sure the blood mist cloud shoots out at the moment of bullet impact and fades out after about 1-2 seconds.
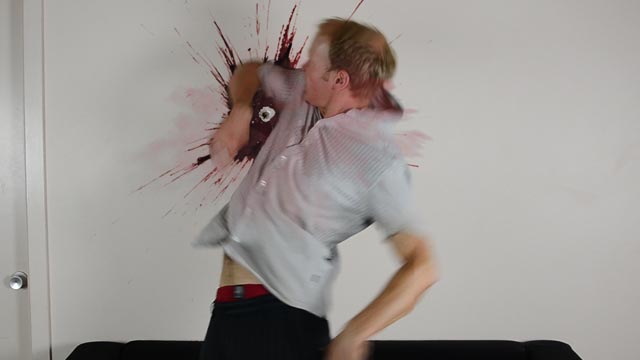
Lastly, we can add some debris from the wall to complete the bullet hit. If a bullet was to pierce the shoulder of our actor and hit the wall behind, it would likely cause some plaster fragments to fly around. You can either create a particle effect for this or simply use some wall debris stock footage :)
I prefer to opt for the latter if possible simply because it saves time and with a bit of curves adjustment you can make it sit nicely in the scene!
Since the bullet hit is a very fast effect and some of the fragments would fly over our actor, I prefer to place the fragments on top of the scene.
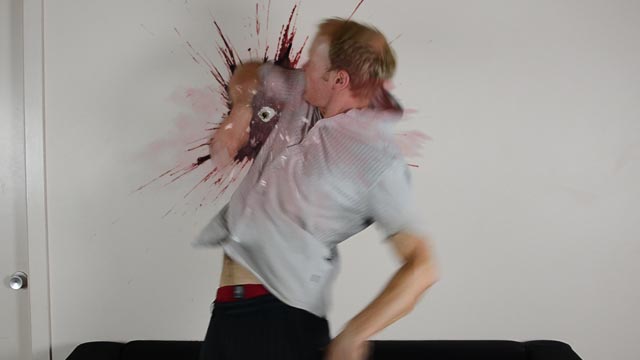
Finally, you can add some curves and saturation effects to the bullet his scene a nice ‘film look’ :)
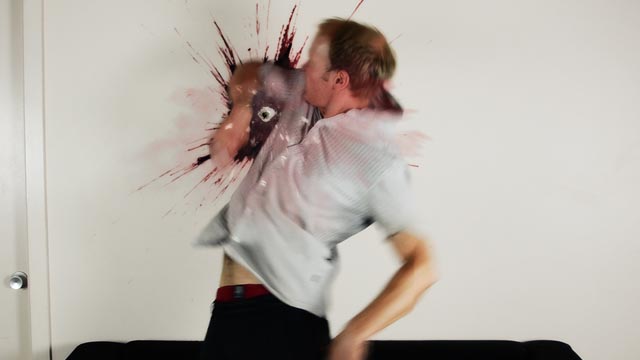
Note that the layers you need for a great looking bullet hit effect will depend on what (or who) your bullets are colliding with. But I higly recommend using an overlay layer as outlined above – it will save you a hell of a lot of time, render faster and allow you to experiment around more easily until you are satisfied with your bullet hit :)


2 Responses
its goooood but we need to advance more
all your videos are cool…….