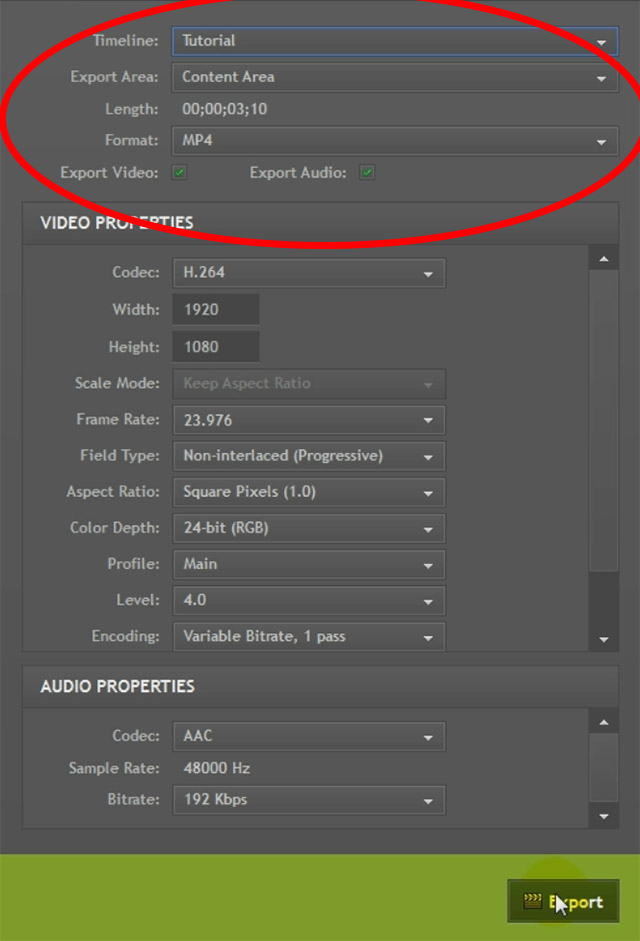
In the main tab control at the top of the HitFilm 2 interface you will find the ‘Export’ tab. The export tab contains all the settings you need to configure your final video export. Make sure you select the correct timeline – for me I will select ‘Tutorial’, which is the timeline for my composite shot. Select the format you would like for your final exported video and enable video and audio export.
I left most other settings pretty untouched as they matched the footage I used already.

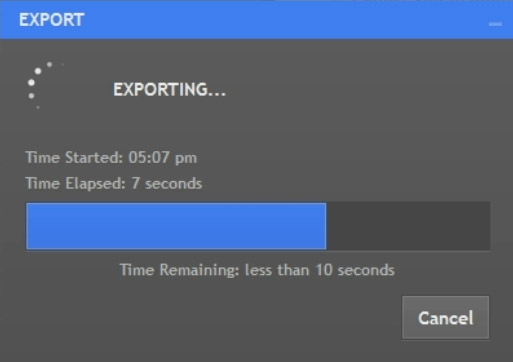
Finally, hit the Export button and let HitFilm 2 do its thing and export your final project for you.

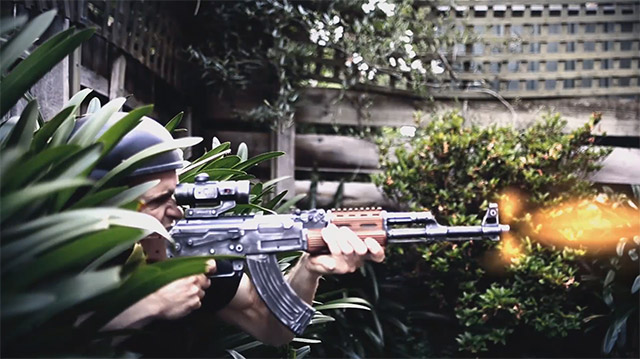
Once HitFilm 2 is done exporting your video you can play back the completed Gunfire effect to your heart’s content!

I hope you enjoyed this tutorial. Feel free to leave any comments, questions or suggestions down below and let me know if you would like to see more tutorials on some of the cool things you can do with HitFilm 2!


