Creating a Laser Beam
Open up the Core Flare tab on the Gunfire effect layer. Jack up the length by quite a bit to turn the main muzzle flash into a long streak. You may have to zoom out a little in the preview window by moving your camera back. Increase the Primary Number of Particles to make the beam nice solid and thick.
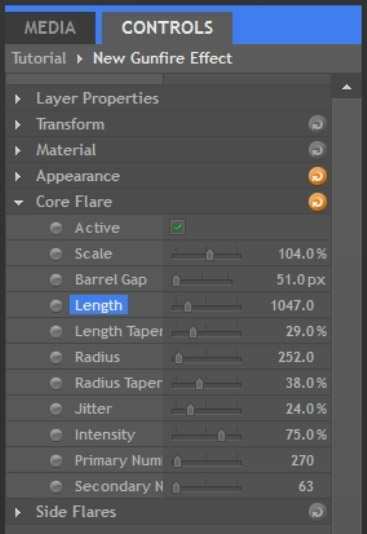
Your gunfire should now look really stretched out.
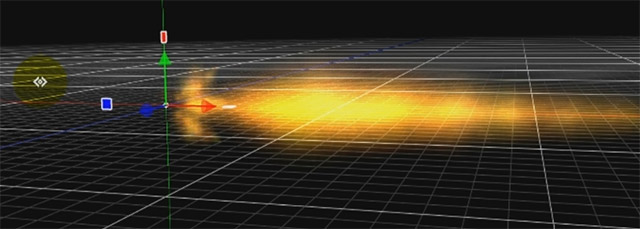
Reduce the Length Taper and the Radius Taper to turn the core flare into a solid beam with consistent girth. Finally, over in the Appearance tab, change the colour to something that suits Sci-Fi effects a bit better, like a nice electric blue. And we now have created a cool looking laser beam effect. I hope this gives you an idea of the things you can do with the Gunfire effect in HitFilm 2.
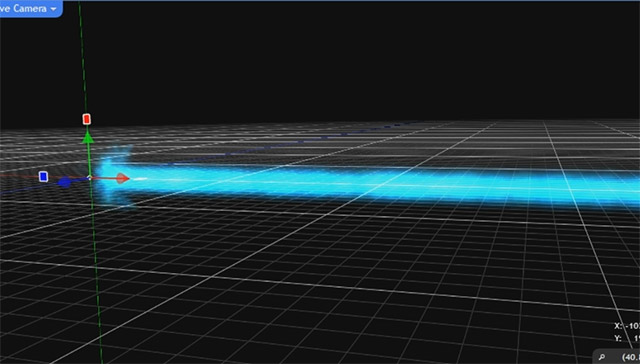
Revert all the changes we made, by clicking on the ‘Revert’ button, the little orange circle a the top right hand corner of the effect controls.
Let’s also have a quick look at the Side Flares tab of the gunfire effect so you have a full overview of the settings that you can use. Open up the Side Flares tab. Here you will find all the options that control the appearance of the little flares that are shooting out from the side of the gun muzzle.
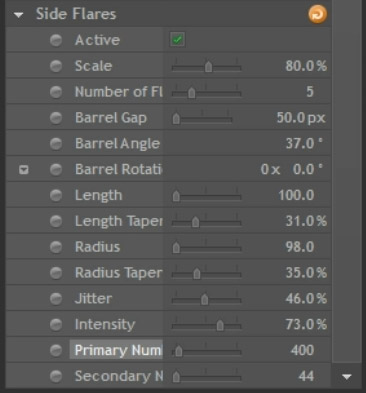
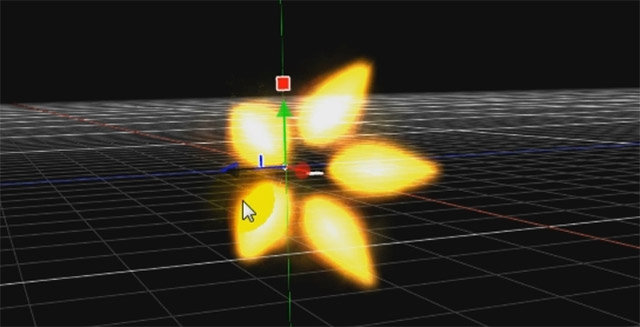
Play around with some of these parameters, especially the Barrel Rotation and Primary Number of Particles properties to see how they affect the look of your gunfire effect. Here is a screenshot of the side flares with the Core Flare disabled. Just like the core flare, you can style the side flares however you want to fit the type of gun and your scene.
Enough playing around, let’s finally get started adding this effect into our scene!


