At the risk of sounding like a pyromaniac: I have always been fascinated by fire.
As a kid I could sit for hours in front of a campfire and watch the flames rise up into the sky.
Now while making fire in real life is already challenging, creating (realistic) fire digitally can be almost impossible.
For the second part of my Intel sponsorship, I decided to push my own limits and try to create a dragon fire breath VFX using Houdini and Adobe After Effects.
If you want to follow along with this tutorial, you can find the tutorial files here.
Intel Sponsorship
This video is sponsored by Intel as part of the VFX Creator initiative.
If you haven’t seen it yet, check out the Indiana Jones Face Melt VFX Tutorial I created previously.
In the last video I had thoroughly tested the power of the Intel i7-6950X CPU. This time I wanted to push the limits of the Intel 750 Series SSD Drives.
The 750 Series Drives feature the new NVMe technology that breaks the upper throughput limit of current SATA 3 SSD drives! The 750 Series SSD drives plug directly into the PCIe slots on your motherboard and promise to be up to 5 times faster than what you can do with regular SATA.
Clearly, that is something I needed to see for myself. One way I decided to push the limits of the SSD drives was to create my entire short film and the Dragon Breath VFX in full 4K. Working in 4K means working with very large files that need to be read and written to and from the hard drive and I figured this might be the best way to find out just how fast the Intel 750 Series SSD drives really are.
Creating Fire in Houdini
Houdini is a very powerful, but also a highly complex program. It is great at creating physical phenomena such as water, destruction, clouds and fire. Houdini does this by calculating the actual physical interactions of these effects using voxel grids.
In order to create a fire breath VFX, we have to set up a number of different elements.
First, we need to spawn and animate particles that will define where the fire will appear in our scene.
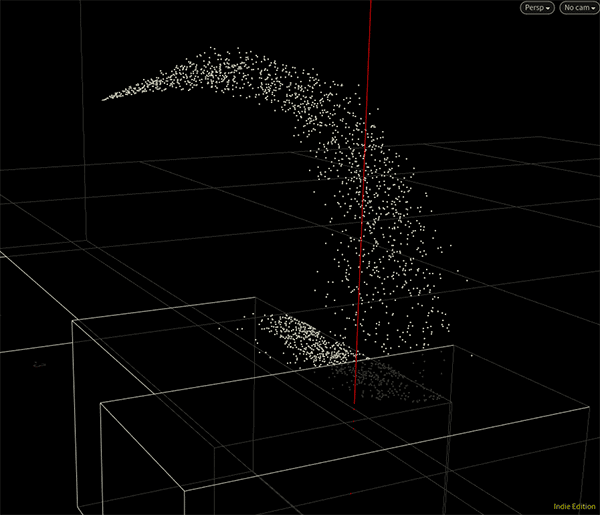
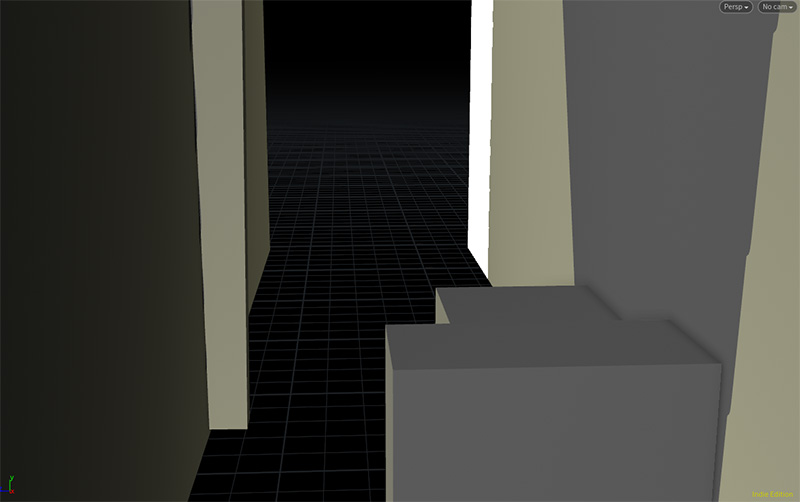
To have the final fire interact with the 3D elements in our original shot, a number of 3D collision objects have been set up to match the geometry of the scene. All particles will properly interact with this 3D geometry and thus with the object within our original shot.
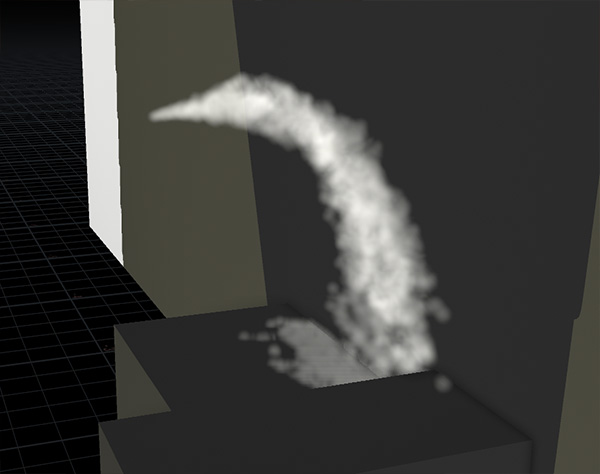
Finally, the particles are converted into fuel that will be injected into a Pyro Simulation within Houdini.
This simulation ignites the fuel and generates volumetric information for our smoke and our fire.
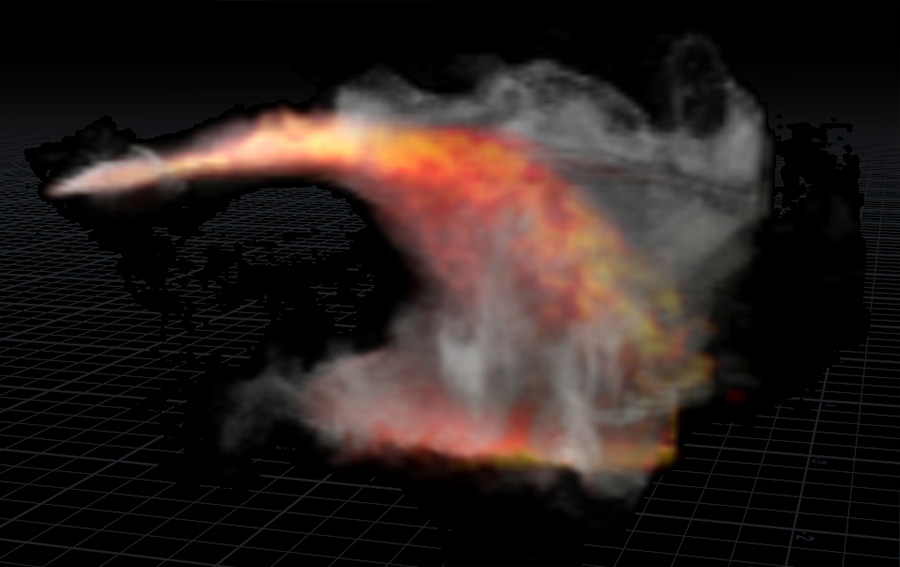
There are a lot of ways to tweak and tune the look of your fire and it can take a long time to get it looking just right. One of the easiest ways to improve the look is to increase the resolution of the voxel grid used for the simulation. This however also explodes the time it takes to calculate the fire within Houdini.
Finally, the different simulation outputs such as density, heat and temperature need to be visualised and shaded to render the final fire effect.
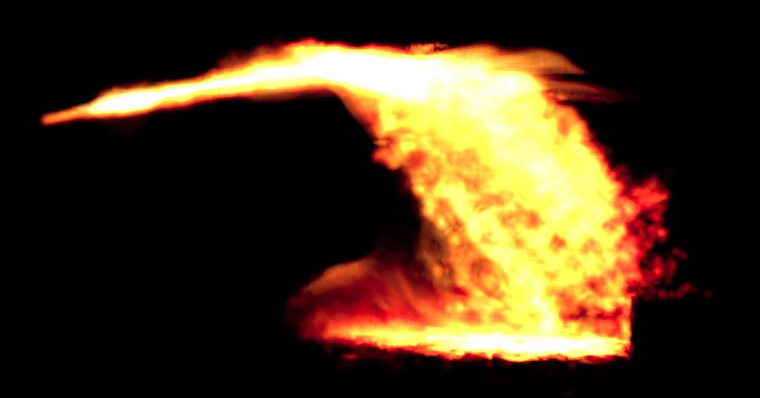
Once we have the final fire elements rendered out, we can composite them back into our original shot using tools such as Adobe After Effects, Nuke or Fusion.
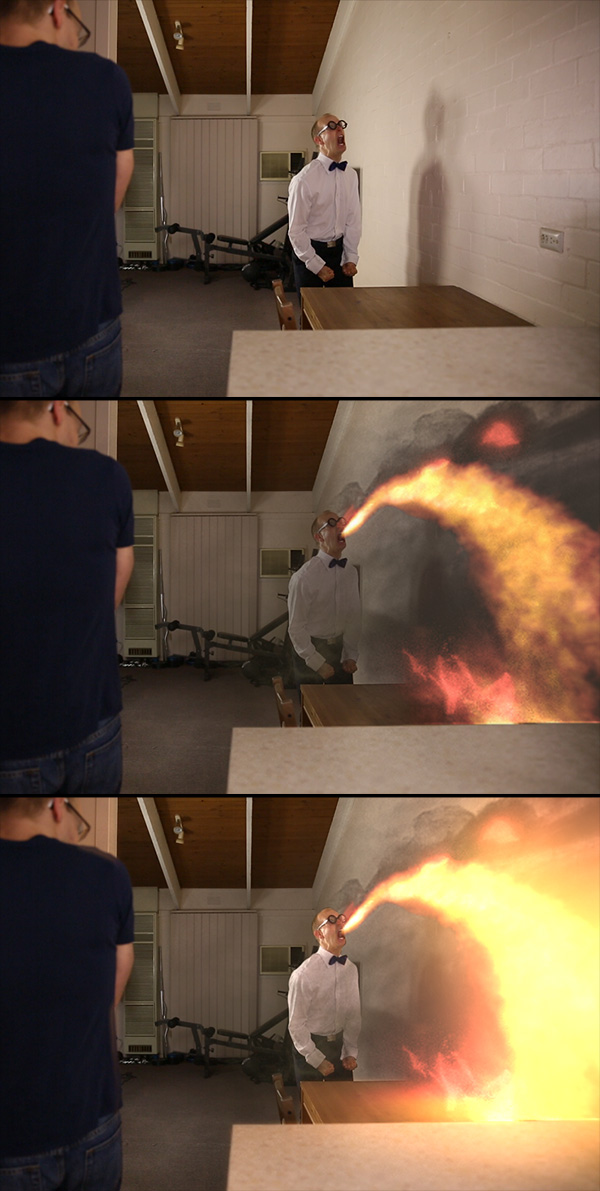
As I said, it’s a complicated process, but it’s also a lot of fun to learn and experiment. Leave me some comments down below if you’re keen on some tutorials for how to create the actual fire in Houdini.
Thoughts on the Intel 750 Series SSD Drives
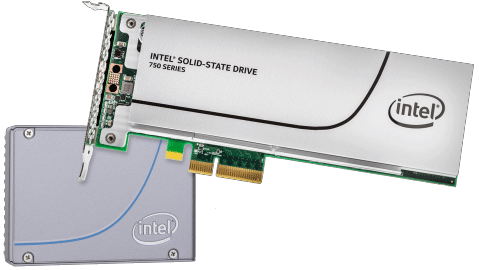
The Intel 750 Series SSD drives are seriously fast.
Besides working pretty seamlessly with all 4K elements I threw at it over the course of this project, I ran 2 separate speed tests.
Copying a Large Amount of Files
For the first test I took my Indiana Jones Face Melt VFX Project, 62GB of data, and copied the entire set from one 750 Series SSD drive to another. The entire process took 1 minutes and 50 seconds.
Next, I copied the same data between my SATA 3 SSD drives. This took a total of 5 minutes. Now 5 minutes for 62GB is still really fast, but the 750 Series Drives were up to 4x faster in my tests and easily left the SATA 3 SSD drives in the dust.
Opening a Large After Effects Project
Realistically, a lot of people would not mind waiting a few minutes to back up a project to a second hard drive, even if it’s just a standard HDD. A more common scenario where speed is of the essence is when opening a project in Premiere Pro or Adobe After Effects. At that point, all referenced media needs to be read off the disk before you can start editing or compositing.
For the second test I opened up my Indiana Jones Face Melt VFX project on the Intel 750 Series SSD drive. From click to ready-to-edit it took 4 seconds.
On the same computer, using a standard HDD with 7200 RPM, the same process took 17 seconds.
Finally, I opened the project on my SATA 3 SSD drives and, surprisingly, that also took 4 seconds.
While the 750 Series SSD drives easily outperform SATA 3 SSD drives in terms of throughput, you may not require all this power unless you intend to work with 4K footage or constantly need to transfer a very large amount of files.


2 Responses
Where can I locate the files used in the “Dragon Fire Breath” tutorial
I just added the download link to the post. Most of the time simply check the description of the video on YouTube :)