Lately, the visual effects in my videos have been getting more and more complicated and my upcoming YouTube video project is taking me a lot longer than expected simply because there is so much post production work to be done.
During post production, you can quickly become lost in footage, project and effect render files or even in the layers of a single effect!
Fairly quickly, you will need to make some sort of post production plan.
No, don’t run away! You don’t need to go to write documents, work to a schedule or – god forbid – talk to people, but you should think about the effects you want to create, what is required to achieve those effects and how you can break up your post production into individual steps.
For me, those steps usually include:
- Clean and edit footage
- Create basic effect
- Rotoscope and render required overlay elements
- Add overlays, finalize effect
- Colorisation and VFX lighting
Let’s have a look at how those steps apply to achieve this fairly simple bullet hit effect:
Post Production Step 1: Clean and edit footage
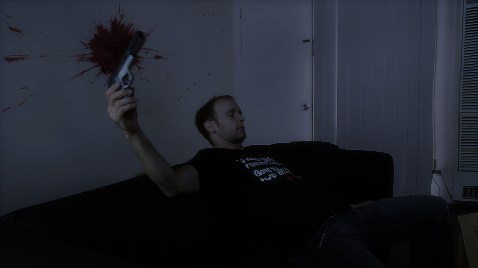
As a first step into post production, you want to delete any footage files you do not need and create an initial rough edit. Here you want to start thinking about where and how your effects will fit – however do not add them at this stage!
You want to add visual effects only to the final edit of your footage. There is nothing more frustrating than to spend hours on a visual effect only to realize that the footage you used does not fit into your final video project.
For my bullet hit effect I have a (final edit of a) scene of me sitting on the couch, pretending to be hit by a bullet.
Post Production Step 2: Create basic effect
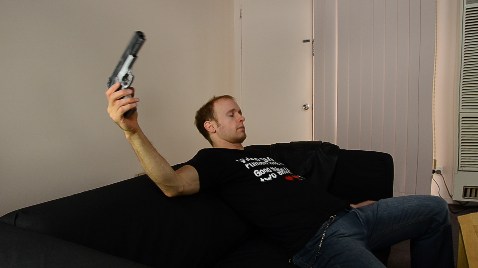
At this stage I want to setup a rough version of the effect so I can easily alter it without spending much time on it.
I add the blood splatter effect, turn it into a 3D layer and position it in the scene to sit on the wall directly behind my head, in line with the bullet’s trajectory. At this stage I don’t care that the effect it’s sitting over my arm and head.
I used stock footage from the Videocopilot Action Essentials 2 collection.
And no, I’m not sponsored by them (I wish!), but think the package is very worth the money :)
Post Production Step 3: Rotoscope and render required overlay elements
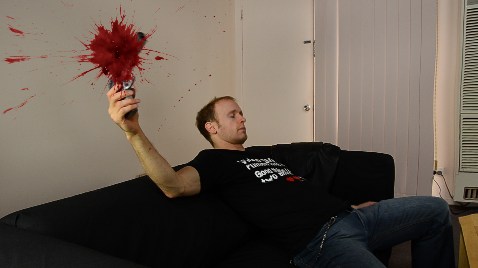
Many effects will require you to place an effect behind an element in your scene. Since your footage is just a series of flat 2D images you will have to cut out or mask out those elements in post production so that you can place them on top of the effect.
For this you have two options:
- Using masks
- Rotoscoping
Masks are usually sufficient for short and simple elements, but if you have a person moving in front of your explosion or, as in this case, blood splatter, you will most likely require to use rotoscoping.
Rotoscoping is the process of outlining a certain element in your scene frame-by-frame. The outline is then used to cut out the element so it can be placed over other objects.
Remember to always rotoscope in full resolution or your rotoscoping mask may look totally different when you do your final export.
In After Effects, one trick you can do to speed up the rotoscoping process is to first apply a mask to your footage to cut out the area you’re interested in. This reduces calculation time as only your masked area will be considered when you step through your frames one at a time.
I draw a mask around the area containing my head and my arm:
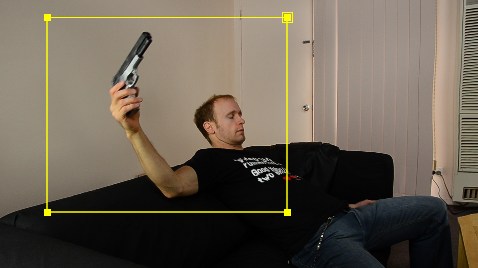
Once the mask is applied most of the image will be discarded:
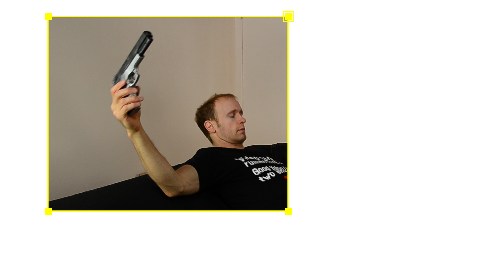
I then step through the footage for those frames where I need the blood effect to be hidden behind my arm and head and rotoscope them. After Effects will display the outline of the rotoscoped element in pink.
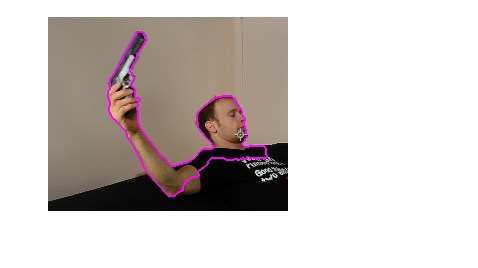
Rotoscoped footage (especially in 1080p) is really slow to preview in After Effects. What you want to do once you’re done rotoscoping is to export only the cut out element in a separate video. You can then import that video and use it instead of your original footage with the rotoscoping effect applied.
This is a very important task as it will speed up the rest of your post production by a big factor!
Here is a frame from the rotoscoped video I exported:
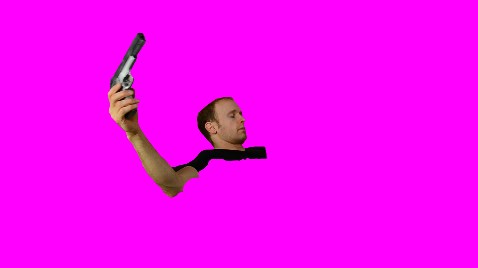
Let’s look how we can put the individual layers back together to place a realistic looking blood splatter effect behind me on the wall!
Post Production Step 4: Add overlays, finalise effect
Now I can place the video of my arm and head on top of the blood effect to make it look like the blood sits behind me on the wall. I added the white outline so you can see where the rotoscoped footage sits in the final scene. Notice how the blood is now hidden behind those elements.
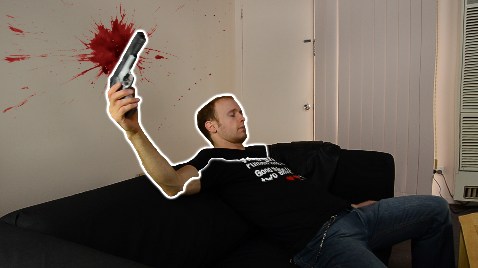
Without the outline it looks as we expect :)
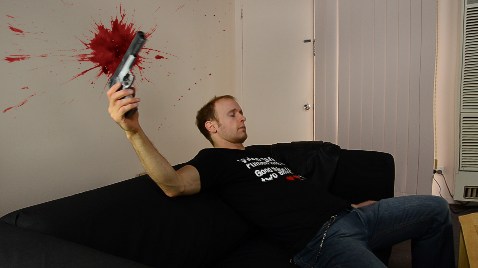
At this stage in the post production, I usually also do some tweaking like making sure the effect fits nicely into the scene in terms of colour and size as well as add a few more details. Because I know the effect is almost complete I am happy to spend some time here to make it look convincing :)
Post Production Step 5: Colorisation and VFX lighting
Movie footage never looks like it was shot on an averagely cloudy day in your living room :D Instead, it usually has a certain colourised and stylised look.
In the final stages of your post production process, you want to apply full frame effects like colour curves, saturation and contrast changes as well as artificial lighting effects to your video :)
I want my footage to look like it has been shot at night so I reduce saturation and contrast, add colour curves and darken the entire video. I then increase the blue channel and remove a bit of red and green to give it that dark night blue.
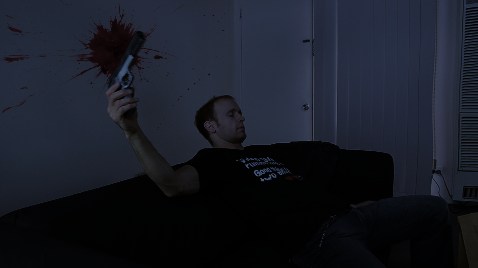
The last thing I want to do as part of the colourisation is to simulate a TV flickering just off to the right of the frame. I have a detailed tutorial in my post on creating visual effect lighting using mattes.
Here is what my final video looks like:

Now I talked way too much (as usual), but the main thing to really keep in mind is to just take a moment to think about your post production process before you get started.
Break it up into small steps and it all be be a lot easier in the end :)


