Configuring the Particle Flow Particles
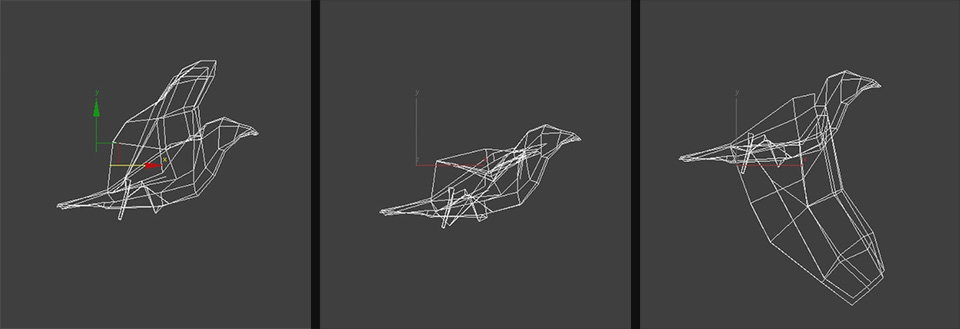
Since we want actual animated 3D crows to be spawned instead of little ticks, I imported this crow model into my project. This model was created by my brother for one of his uni projects and you can download it here! Be kind and give credit if you end up using it in your own projects.
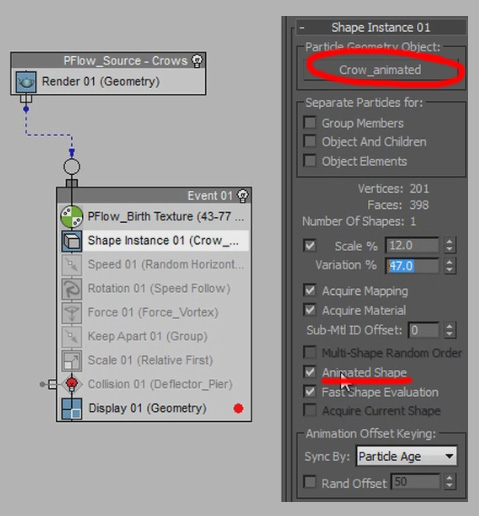
We now want to change the shape of the particles to use this animated crow model so return to the Particle Flow window. Down in the list of operators you can find the Shape Instance operator. Add this operator into your main particle event. You can disable and enable operators by clicking on their icon on the left side.
Select the Shape Instance operator and in the options on the right hand side pick the animated crow model as the geometry object. You can tweak the size and the size variation of your particles and you should not forget to tick the ‘Animated Shape’ check box.
Note that the preview window in 3dsMax will still just show you ticks for your particles. If you want the preview window to show the shape of the crows, add a Display node into your particle event and set the display mode to ‘Geometry’.
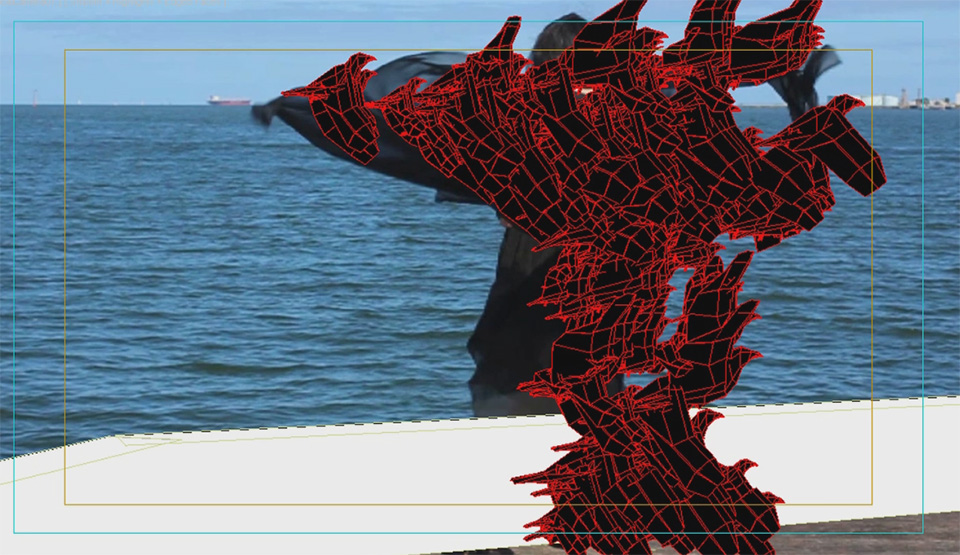
If you play back the animation now, instead of little ticks, you should see 3D crow particles being spawned in your scene instead. While they animate, they don’t move at all. Let’s modify our particle flow to get the crows to fly away from where they are spawned.
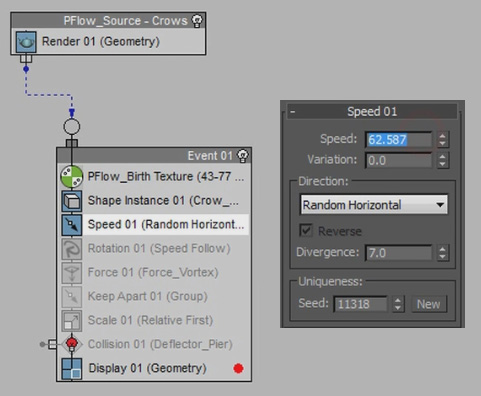
To achieve this, you can add a number of other operators to your particle flow. Add a Speed operator to your main particle event. You can use this operator to accelerate your particles and you can define which direction you want your particles to move. I set mine to ‘Random Horizontal’ with a bit of variance. Set the speed and the speed variation to whatever suits your scene.
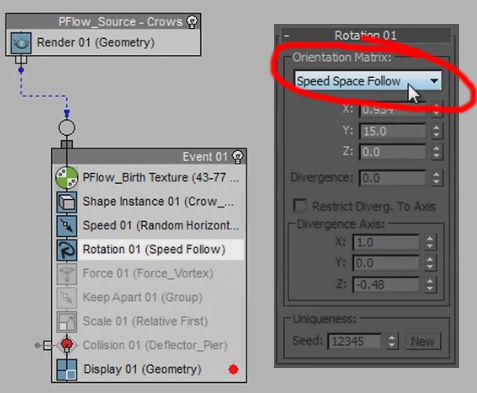
Since we want our crows to face forward as they fly, add a Rotation operator. Set the Orientation Matrix of the operator to ‘Speed Space Follow’. The crows will now face towards the direction they are moving. I added a tiny bit of rotation so they hold their head a little higher while they fly – it just looked more natural to me that way.
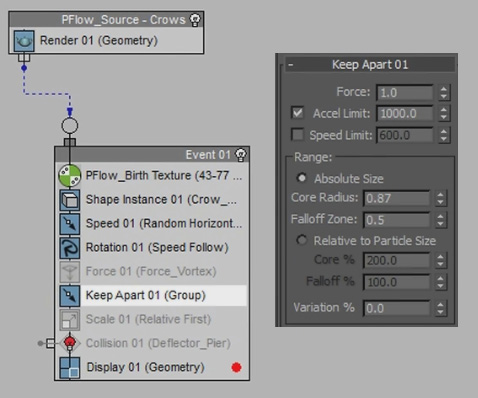
One other thing I added to my particle flow is a Keep Apart operator. While this operator doesn’t seem to always work perfectly, it does help to keep the crow particles from constantly intersecting with each other in an unnatural way. The main parameters to play around with are the Core Radius and Falloff Zone settings.
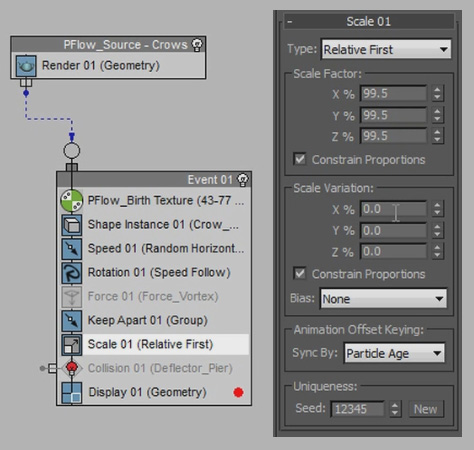
Finally, I also added another Scale operator to tweak the crows sizes a little bit. You can also achieve this by changing the scale setting in the Shape Instance operator.
Once you are done setting up the basic movement operations for your crow particles, return to your 3dsMax viewport and preview your animation. Your crows should now be shooting out and away from your actor. That is pretty cool and we can see the final effect taking shape!
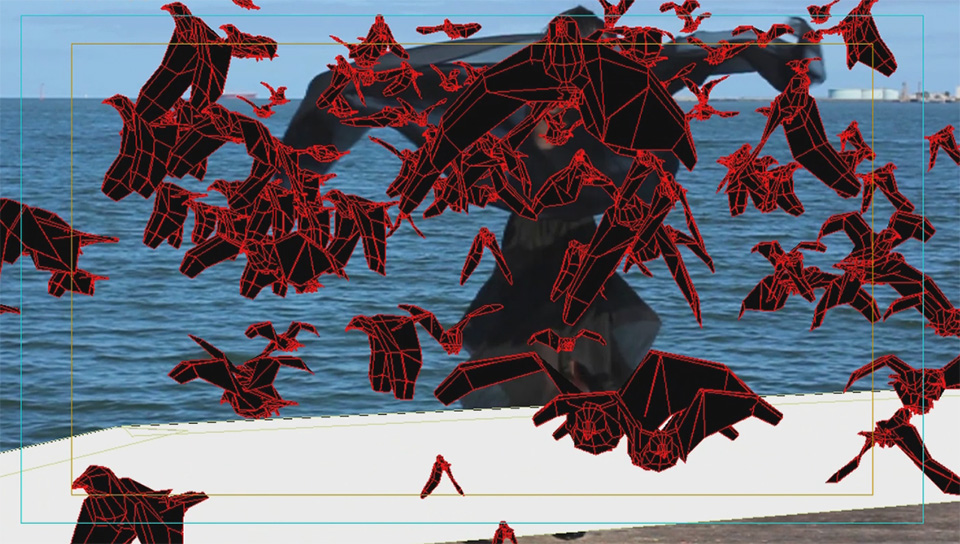
But we don’t do average here so let’s make the movement of the crows look a bit more organic.


3 Responses
Compelling tutorial. I have attempted to emulate the animated mask; however the silhouette remains solid white in the parent composition. There appears to be a key step that eludes the completion of the true render for the pFlow. Any postulation… best, Campbell
I’m not sure what you mean. Are you having troubles animating the mask for the birth texture in After Effects?
hi, i like you tutorials very much :)
i don’t know how to work with 3dsmax
can u please tell me how to Do 3D integrations using C4D :)
I am doing this tutorial and it’s amazing…however, my crows are not spreading outward from the birth texture….they all are remaining within the plane….Can you help me figure out what I’m doing wrong? Thanks so much!