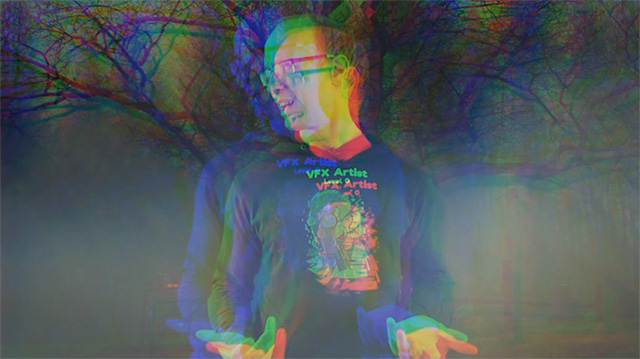
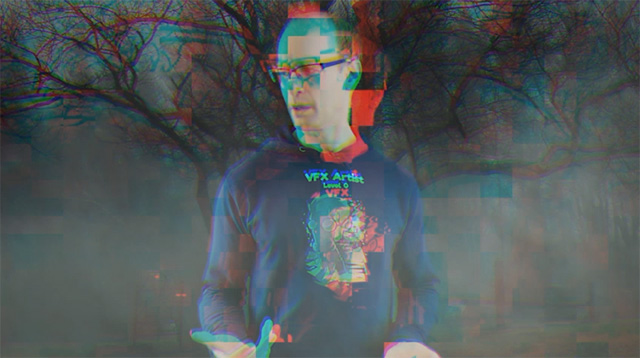
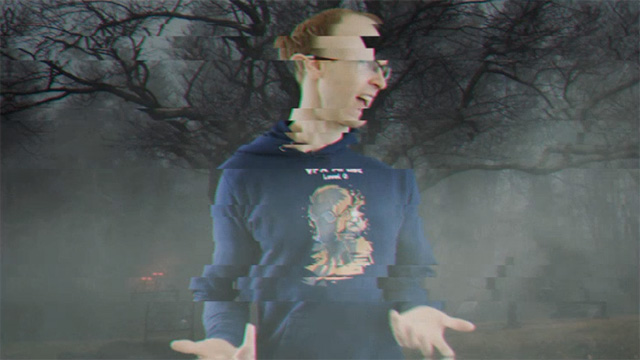
Learn how to create awesome GLITCH EFFECTs in Adobe After Effects without ANY plugins! All of these effects can be created with ANY version of After Effects.
If you want to follow along with the tutorial you can download the tutorial footage here.
Why Glitch?
Video glitches, signal distortions and other digital noise artefacts are becoming more and more popular. You can see them in movies such as The Matrix or TV shows like Cyber.
You can get great plugins to create these glitch effects, such as the $50 Twitch plugin from Video Copilot. However, you don’t actually need any plugins to create these effects directly in Adobe After Effects so I decided to create this tutorial to show you how.
The RGB Split
The RGB Split is a digital glitch where the red, green and blue channels of the video shift away from each other independently. This creates a very distinct coloured noise, primarily around the edges of objects in your footage.

Here is how to you can create the RGB split in Adobe After Effects without ANY plugins.
Import your footage, create a new composition and bring your clip in as a new layer. Duplicate the layer twice so you have 3 copies of your footage. Apply a Shift Channels effect to each of the layers. Adjust the settings so you extract the red, green and blue channels separately to each of your 3 layers. Then change the blend mode of your layers to Additive blend mode so your comp looks like the original footage.
And that’s it! You can now animate any of the layers or apply a wiggle() expression to offset the red, green or blue channel of your video and create that distinctive RGB split effect.
Compression Displacement
Another effect I have seen not only in movies, but also in video games such as Watch Dogs is the compression noise effect. In this effect, blocky distortion artefacts can be seen in the footage as if the video player is having issues decoding the video.

Here is how you can create Compression Displacement effects in Adobe After Effects without ANY plugins.
Create a new composition and bring your footage in. Create a new solid layer and apply some Turbulent Noise to it. You can animate the Evolution property to give it some movement. Now apply a Mosaic effect to the solid to pixelate the noise. Feel free to tweak the Horizontal Blocks and Vertical Blocks to your liking depending on how large or small you want the compression artefacts to be. Increase the contrast of the Turbulent Noise as needed so you have some pretty harsh moving squares. Pre-compose this layer and make sure to move all the effects into the new composition. Disable the visibility. We don’t actually need to see this layer.
Now apply a Displacement Map effect to the layer you want to apply the compression noise to. You can either apply this effect to your entire clip or so individual channels if you have set up the RGB Split above. Change the Displacement Map Layer property to your noise layer. Then you can change or animate the Horizontal and Vertical displacement to distort your footage with some blocky compression artefacts. Personally I prefer to apply this effect only to one of the colour channels, but feel free to apply to your liking!
Horizontal Tearing
Sometimes your video may look like it’s being torn apart horizontally as different interference patterns disrupt your video signal. This horizontal tearing can look cool by itself, though most of the time it is added to some of the other video glitch effects described above.

Here is how you can create horizontal tearing glitch effects in Adobe After Effects without ANY plugins.
Follow the same steps as for the Compression Artefacts. However, for the Mosaic effect, set your Horizontal Blocks to 1 and increase your Vertical Blcoks to create long horizontal lines. You may also want to tick Sharp Colours to create a really harsh black and white pattern.
Next, use this layer (again, don’t forget to pre-compose) as the input to a Displacement Map effect. Feel free to again apply this to your base footage or to individual colour channels. Make sure that any animation is quite abrupt and quick so it looks more digital.


