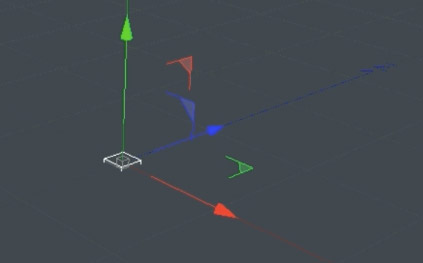
I want to create a grid of roof tile elements that will be flung out of the way as the giant smashes through the roof. For this, we first need to model a single roof tile. I created a simple cube and squashed it down into a flat box. You could model a much more realistic roof tile here, but for this tutorial, let’s go with the simple option.
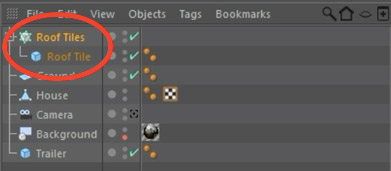
Next, we need to duplicate the roof tile to create a sheet of tiles. You can do this manually or you can use the Cloner object in Cinema 4D. You can find the Cloner object in the MoGraph menu. I called the Cloner ‘Roof Tiles’ and dragged the roof tile object into it. The Cloner will duplicate any child objects that are attached to it.
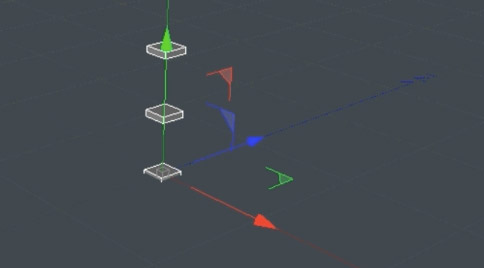
With the default settings, the Cloner will duplicate the child object 3 times vertically.
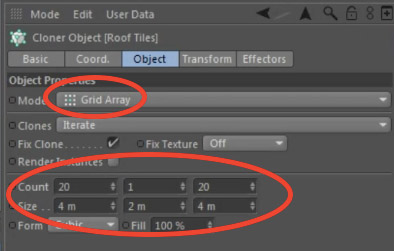
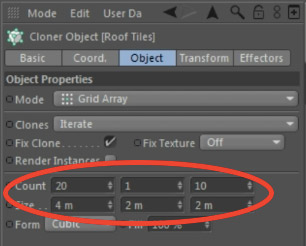
Since this is not what we are after, go into the Object Inspector for the Cloner. Change the Mode to ‘Grid Array’ and then set the x and z repeat counts to around 20. You will also have to adjust the Size property to ensure the roof tiles are lined up precisely next to each other in an even grid.
You should now have a sheet of roof tiles, lined up perfectly. Again, you could model this much more realistically, but for this destruction effect it will suffice.
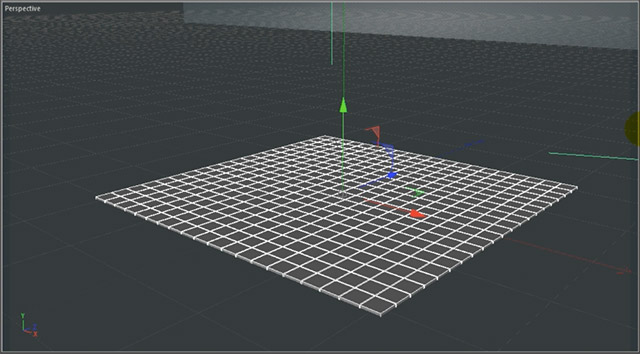
Place this grid of roof tiles on top of the house in your scene, directly above where the giant smashes through the roof.
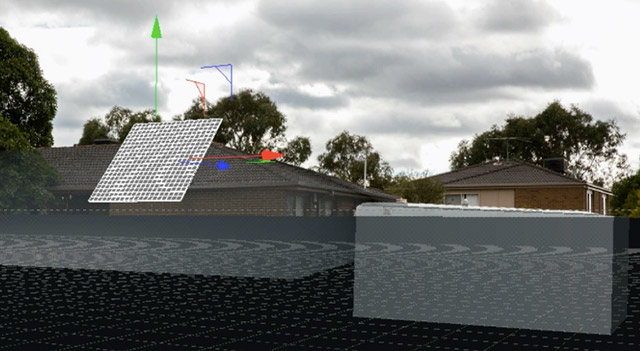
You might have to adjust the Count and the Size properties of the Cloner object to ensure the roof tiles do not extend past the roof.
Then adjust the position of the roof tiles as required to place them exactly over the hole in the roof.
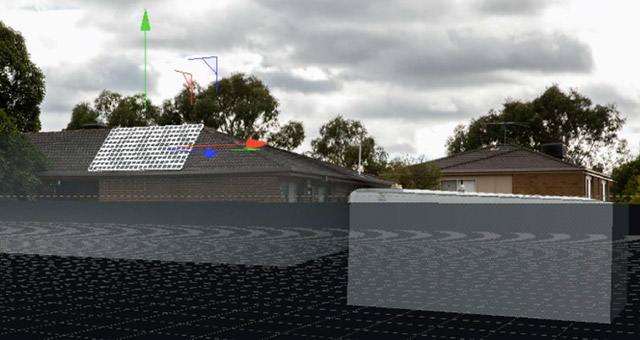
With the roof tiles perfectly in place, it’s time to create the actual destruction effect!


2 Responses
you guys are great thanks so much
Thank you for the comment!