Before we start creating the geometry in our scene, we need to set up a camera to match the real camera we used to film the shot. Create a new camera in your Cinama 4D scene.

To enable the camera (and see the world through its eye), you have to tick the little target point next to the camera in the scene browser.

Now any changes you make in your viewport will be reflected onto the currently enabled camera. Move the camera so that the ground plane of your viewport lines up with the ground in your actual scene. Since we are going to work with physics and you’d want the debris elements to fall down, this is very important to get right!
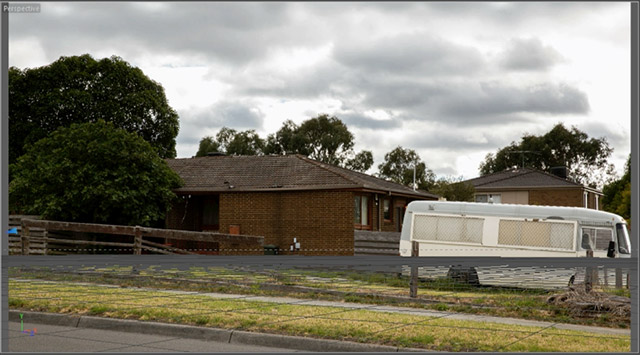
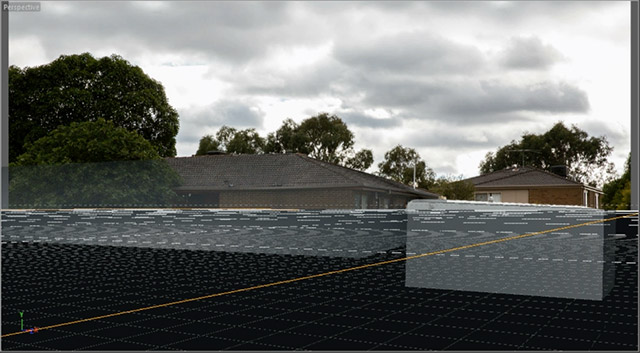
Next we need to set up some geometric shapes to represent the elements in our scene. We want the debris elements to interact with the physical shape of the house, the trailer and the ground and so we need to ‘rebuild’ them in Cinema 4D. This does not have to be overly precise – at least not for this simple effect – so I created a simple cube and stretched it to fit over the body of the house.
Important: since we are going to use physics in Cinema 4D, make sure that you model everything with the appropriate sizes. E.g. I made the cube for the house 2m tall, 16m deep and 20m wide. If you create your scene in the wrong scale, the physics simulation will not be accurate and the effect will look strange.
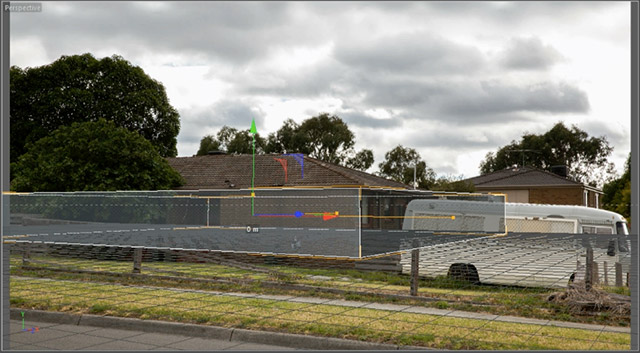
Duplicate this geometric primitive and reshape and move the copy until it sits exactly in the location where the trailer is.
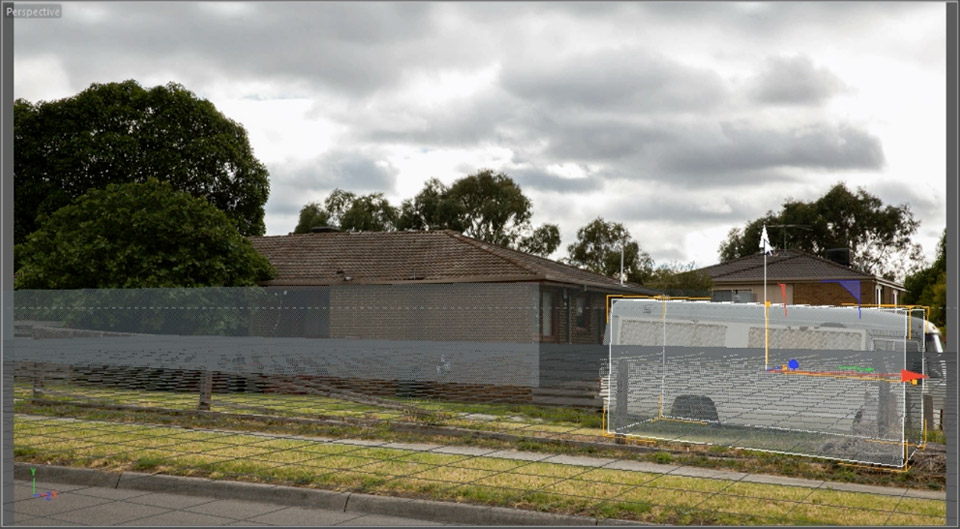
Whenever you feel tempted to move the camera around to help you position these elements correctly in your scene, do remember to disable the camera before you start moving around in your viewport. Otherwise you will affect the position of the active camera.

I now want to add a roof to the cube I set up for the house. To achieve this, I am simply going to reshape the body of the house. Of course the way I am adding the roof is just one way of solving the problem and feel free to use any other technique if you prefer.
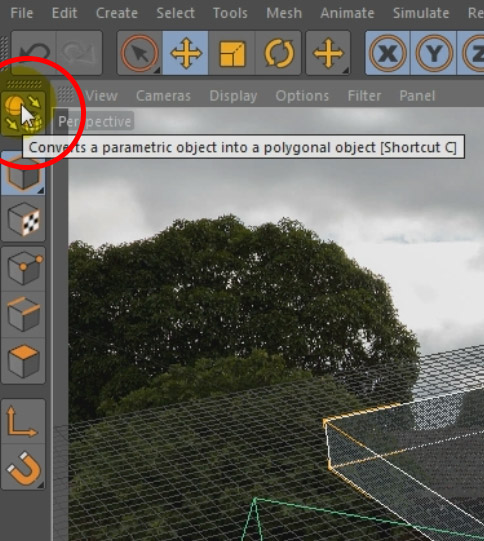
To reshape the house, simply select the cube and click on the ‘Convert to Parametric Object’ button in the toolbar. Then select the ‘Polygon Mode’ from the toolbar so we can make changes to the individual sides of the house.
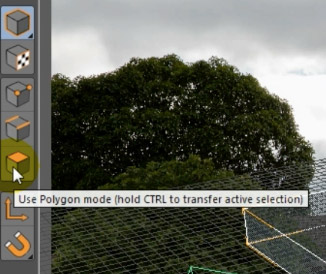
Note that I’ve changed my viewport angle, but I did remember to disable the active camera first. You can see the green cone defining the field of view for the actual camera at the bottom of the screen.
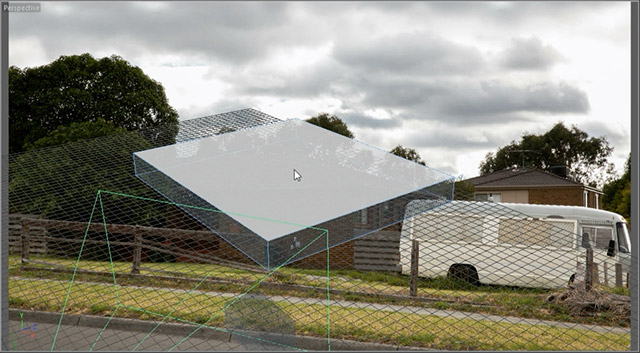
Right click on the top of the house body and select the Bevel option.
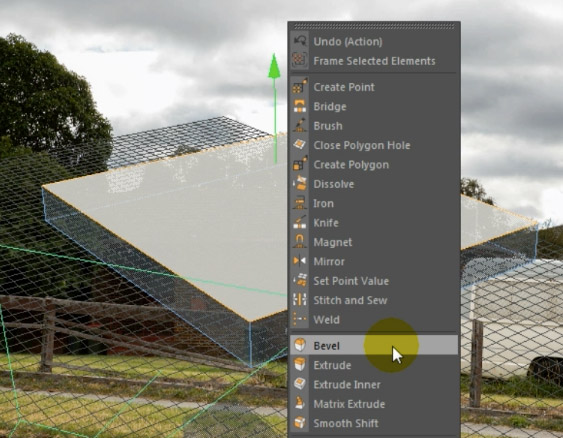
Click and drag to add a bevel to the top of the box. Then use the move option to move the new face upwards to create a roof shape.
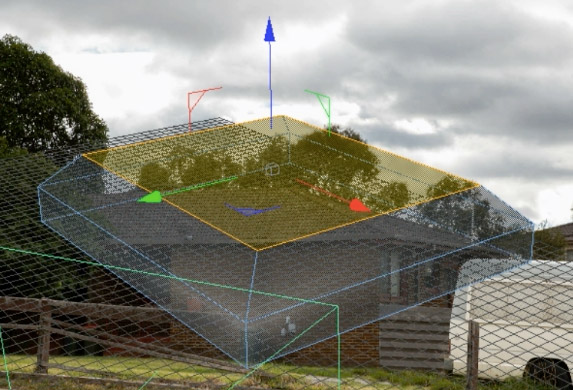
Switching back to the camera view by re-enabling the crosshair next to the camera, you may discover that the roof geometry does not line up perfectly with your scene.
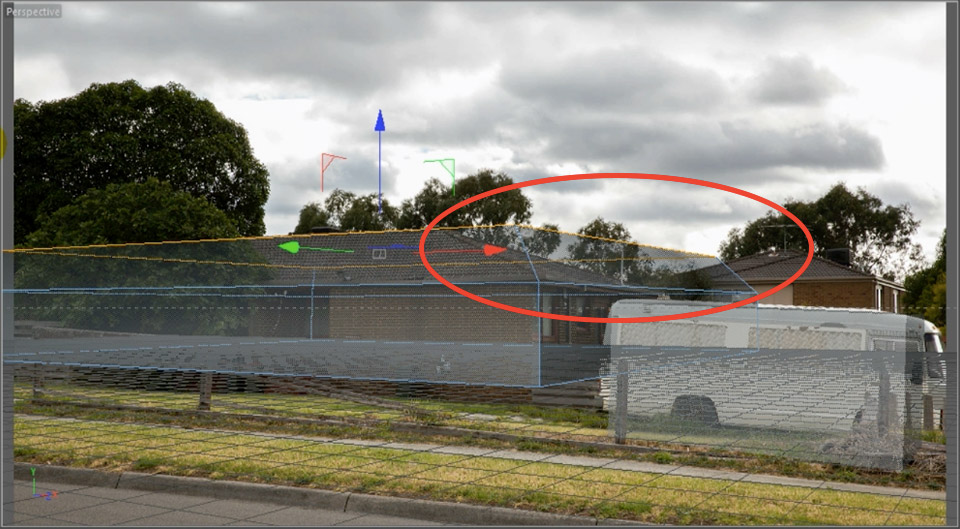
We can fix this by moving the edges along the upper end of the roof inwards. You can do this using the ‘Edge Mode’ in Cinema 4D. It’s right next to the Polygon Mode in the toolbar.

Select the edges of the roof that do not line up and move them around until they fit over the outline of the roof.
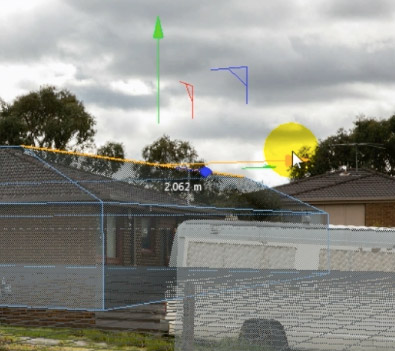
I also pushed down some of the edges to increase the steepness of the roof and match it up with the geometry in my actual scene.
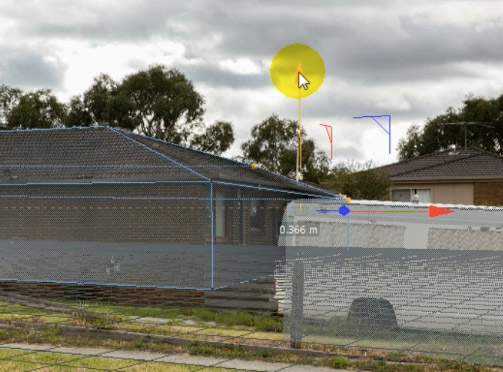
Finally, add a Ground object into your scene. The grid we see from the viewport is simply a helper and will allow any debris elements to fall straight through it.
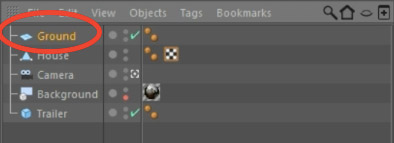
Position this ground plane at the bottom of the boxes for the house and the trailer. Rotate around the scene as needed to ensure that all geometric primitives we have set up match up with their real world equivalent as closely as possible.
Now that the tedious work is out of the way, let’s start creating the destruction debris elements for the roof tiles!


2 Responses
you guys are great thanks so much
Thank you for the comment!