Adding Dust & Debris
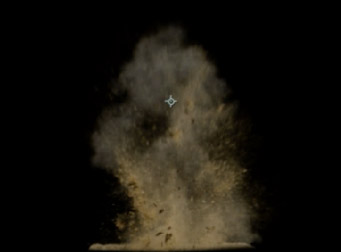
As always, I will use stock footage from Action Essentials 2 by Video Copilot here, but you can get free stock footage elements from detonationfilms to follow along with this tutorial. Here is a dirt burst element from Action Essentials 2:

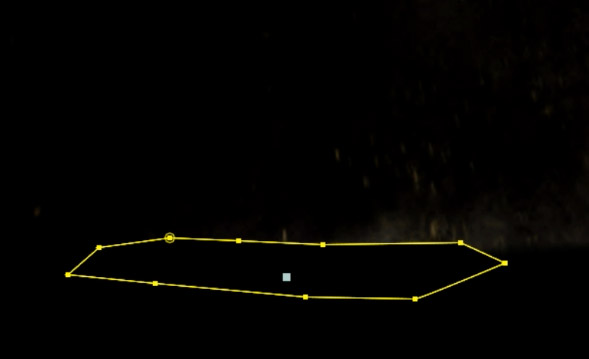
Because I can see a little bit of the ground in the stock footage, I first applied a simple mask to the bottom part of the dirt element.

I then set the Mask Mode to ‘Subtract’ and increased the Feather property a little bit so the mask does not have a hard edge.

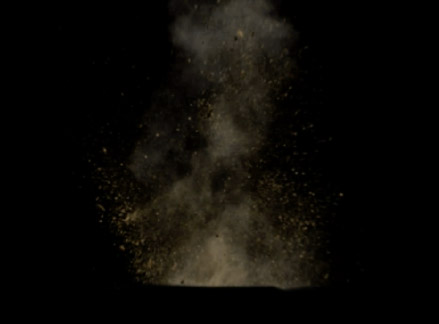
It pays to spend some time and ensure that the mask at the bottom of the debris element will match the shape of the hole that we cut into the roof. Once we removed the ground from the stock footage element, we are ready to place it in our scene!

Place the stock footage element over the hole in the roof and time the layer so that it matches up with the video of the Giant crashing through the roof.

Then rinse and repeat. I added a couple more debris and dirt elements into my scene to make the roof crash effect look a little bit more interesting and destructive. You may have to perform small cleanups here and there as you place your stock footage elements in the scene to make sure they fit together nicely.

Once you’ve added all the destruction stock footage layers, you should have a pretty cool roof crash destruction effect!

That concludes the first part of this tutorial. In the next part we will look at creating some cool roof debris with realistic physics in Cinema 4D and compositing them back into our scene using After Effects and 3D VFX integration techniques!


