Creating The Skyline Matte
We will create a 3D track matte to define the elements in the skyline that we want to sit on top of/in front of our fake building. For this, you first need to duplicate the Tracking Solid we already created. Rename the layer to ‘Skyline Matte’ and place it directly above the Building Image layer.

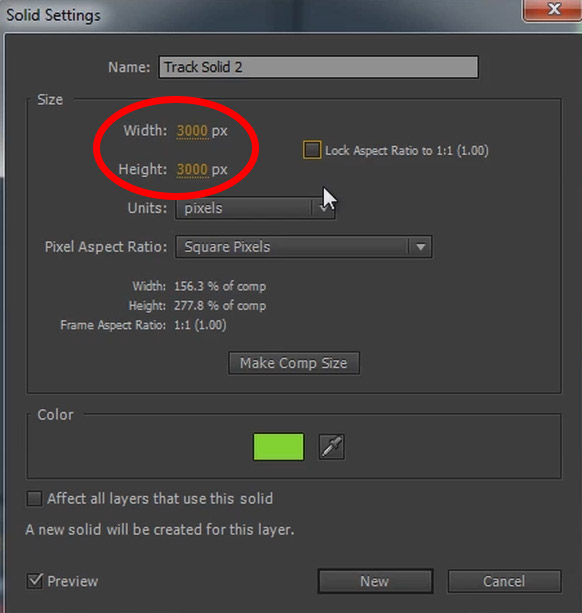
When you selected ‘Create Solid and Camera’ earlier, the Tracking Solid we created has a pretty low resolution (usually 200 x 200 pixels) and so does our new Skyline Matte. Since we will draw a detailed mask onto the Skyline Matte, we need to increase the resolution so the track matte does not end up being pixelated. Open up the Solid Settings dialog and set the resolution to something large like 3000 x 3000.

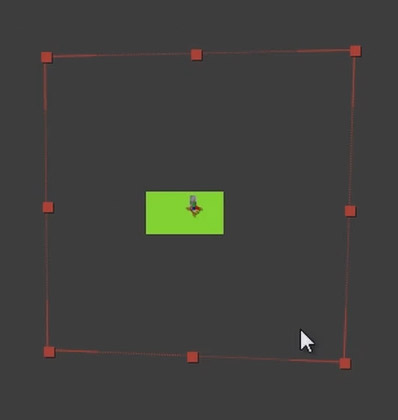
Since we increased the resolution and therefore the size of the solid, you will have to zoom out of your composition and scale it back down so it fits more tightly around our actual scene. Throughout the shot, the entire frame should always be covered by this Skyline Matte layer.

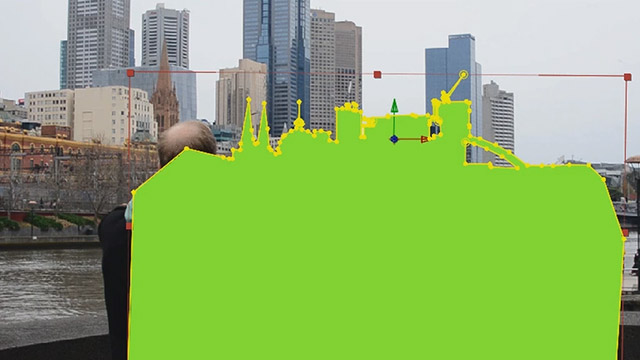
Next, using the masking tools available in Adobe After Effects, draw detailed masks onto the Skyline Matte layer to outline the elements you want to sit in front of our fake building. You want to do this as precisely as possible. The screenshot below shows my Skyline Matte.

Ensure that the Skyline Matte layer sits directly above your Building Image and set the track matte option on the Building Image layer to ‘Alpha Inverted’.

The Skyline Matte layer will become invisible and, everywhere where it was visible, the building will become invisible. Assuming that your masks are accurate, this will give the illusion that our fake building actually sits behind some of the buildings in the background.

Let’s get started adding some of the destruction elements!


