Creating A Fake Building
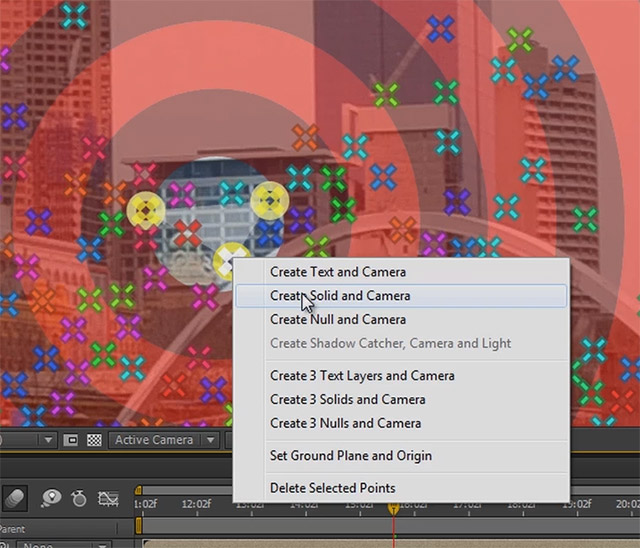
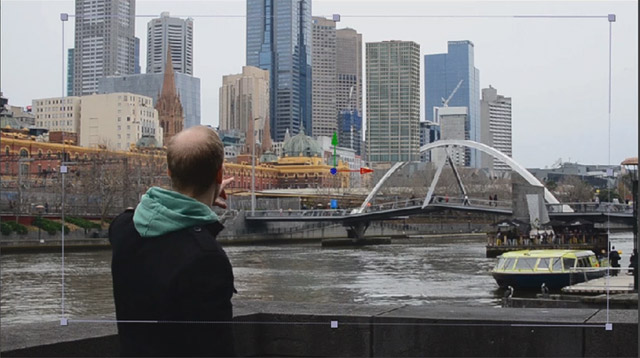
Select the 3D Camera Tracker effect and Shift-click 3 points on the flat surface of a building in the background. Choose 3 points at the position where you want to add the fake building. Then right click and select ‘Create Solid and Camera’.

This will place a new solid on the surface of the building and create a 3D camera in your composition. I will name this new solid ‘Tracking Solid’. Scrubbing through your footage, you should see the solid follow the building correctly throughout the shot.

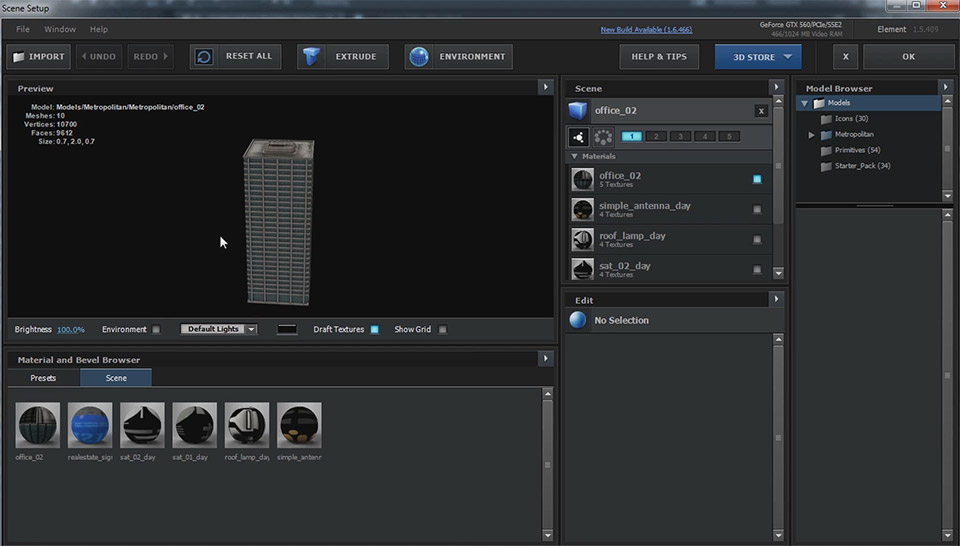
In order to add a fake building, you will need an image of a building. You can find free ones online (beware of copyright!) or, if you own Element 3D and the Metropolitan model pack from videocopilot.net, you can create your own. Here is a screenshot of Element 3D with a building model loaded. I exported the building as a simple image because it allowed me to get a building image with the correct viewing angle to fit into my shot.
Also want to make sure that the lighting on the building matches your city skyline as best as possible, otherwise the effect will not look very convincing.

In order to place the building image correctly in your scene, duplicate the Tracking Solid layer we created earlier. Make sure the copy is selected and then alt-drag the building image from your project window onto the layer. This will replace the contents of the layer without affecting it’s position in the scene, placing the building image at the same location as your tracking solid. Rename the layer to ‘Building Image’.

Reposition the 3D Building Image layer as required to place it exactly where you want the fake building to stand in your skyline. Note that at this point, the building will overlap all others, but we will fix that up in a moment.

Before we move on, there are 2 small things we need to fix to ensure the building image blends a bit more naturally into our scene.
Blending The Building Image Into The Scene
There are 2 important things you need to do to composite the fake building more realistically into the scene. For one, you should enable motion blur on the layer and on your composition so that if the 3D camera moves quickly, the building image is correctly blurred to match the movement. Without motion blur, your image will stand out unnaturally in the scene during fast camera movement.

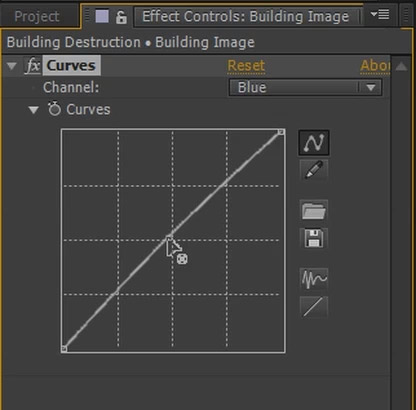
Next, you need to make sure that the building matches your original footage in terms of brightness and colour. For this I usually love to use the Curves effect. Simply apply it to the building layer. The skyline is quite far away from where I am standing and the buildings are all tinted slightly blue due to the particles in the air. I will use the Curves effect and increase the Blue colour channel a little bit to give my building the same tint.

We have placed a fake building on top of our base footage, but we have not yet placed it in the scene. It overlaps all other buildings rather than standing in between them. Let’s fix that up and prepare a track matte to help us place all other elements in rather than on top of the city.


