Watch me get hit by a car!
‘ve had the idea for the intro to the ‘how to get hit by a car’ effects video in my head for a while and I’m pretty excited to finally getting it out. Learn how to create cool car hit effects in the latest Surfaced Studio YouTube tutorial :)
Shooting the car hit
I recommend that you shoot this scene on a tripod. Unless you have an awesome stunt man you will likely need 2 shots to create this visual effect:
- A shot of your actor walking to the spot where he will be hit by the car, then pretending to be hit by contorting his body accordingly.
- A shot without your actor with nothing but the car driving through
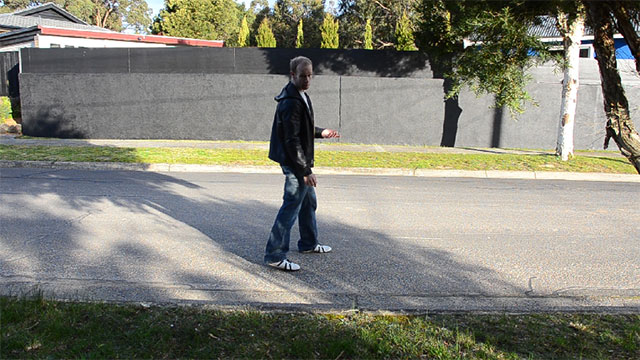
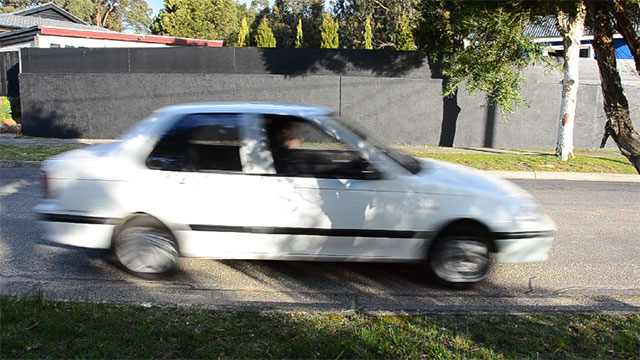
You will make this effect a lot easier to create if you film this scene on a cloudy day without wind as you will avoid lighting and shadow changes as well as having to deal with swaying branches or other moving objects.
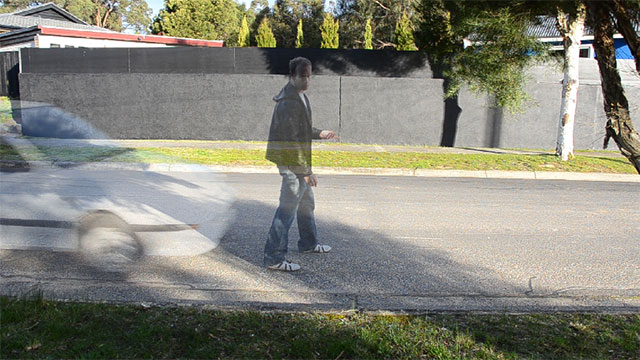
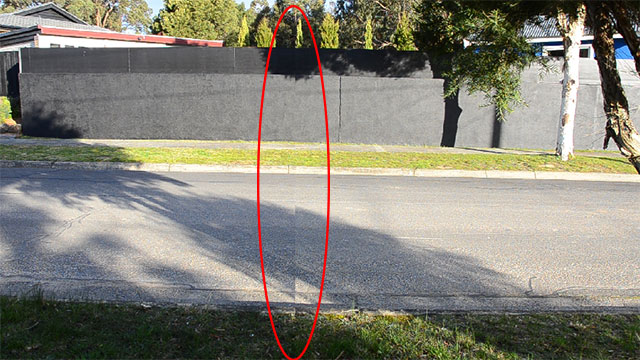
Even though I have both of these issues in my shot I decided to go with it simply to show you how you can deal with these situations :)
Place your car clip on top of the one with the actor in it and align the two clips so the car arrives at just the right moment.
Now let’s cut out the elements that we need to create the car hit effect in After Effects!
Masking out the elements
Now you will need to mask out the car. Due to the shadow changes I will use 2 masks for the car, one very tight one to cut out the body of the car and another, feathered mask for the car’s shadow. You should now have a masked out car driving through your scene just in time to ‘hit’ your actor.
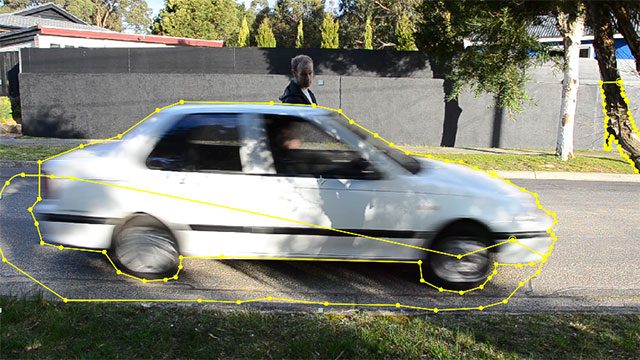
Covering up the actor on car hit
When the car hits the actor, we want to hide the original actor from the scene and animate a cut out of them to be shoved out of the scene.
We will do this in multiple steps, the first of which will be to cover up the actor in our base footage on car hit.
Duplicate the base footage layer, place this layer directly above and call it something like ‘cover up’. Shift it to a time where the area of impact is empty and then use a mask to cut out enough to cover up your actor. Make your cover up layer start exactly when the car hits so it looks like the impact made your actor disappear.


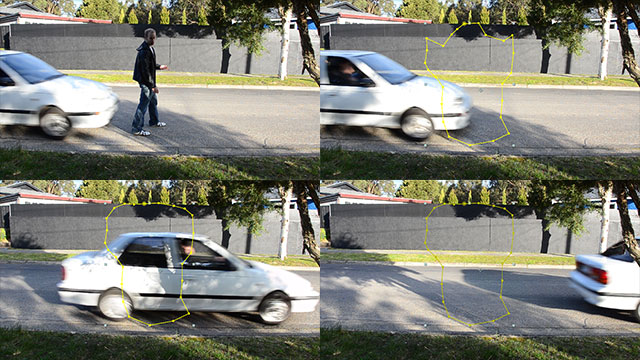
Creating the car hit overlay
The last thing we need to do is cut out our actor for the last few frames and animate them being shoved out of the scene by the car hit.
For this, duplicate your base footage again, call the layer ‘hit overlay’ (or something to that extent) and move it above your car layer.
Trim it down to start exactly at the moment the cover up layer becomes visible.

Time remap layer

Then, using either masks or the rotobrush tool (if you’re using Adobe After Effects CS5 or later), rotoscope out your actor.
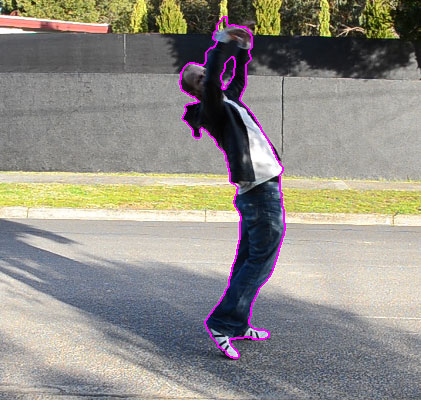
Now animate both rotation a position of this overlay so the actor is pushed out of the scene by the car hit.
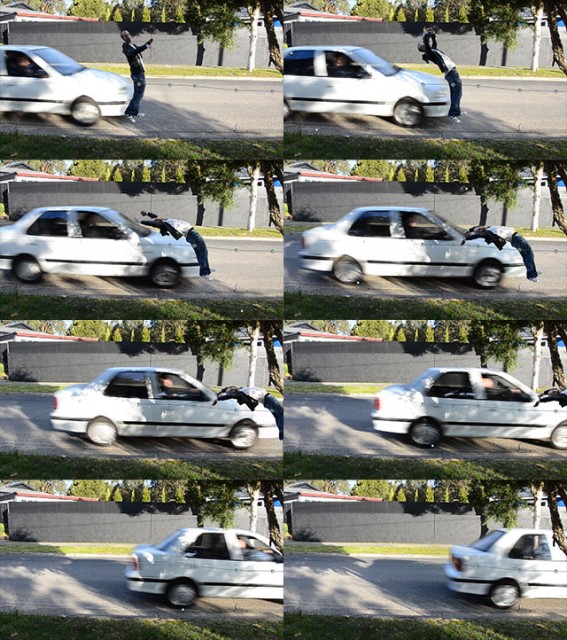
Finally, let’s add some motion blur to the car hit effect to make it look a little bit more realistic.
Motion blur
I like to also enable motion blur on the overlay layer to give the actor a healthy amount of motion blur when the car hits them. For this, enable the motion blur switch on the layer as well as your composition.
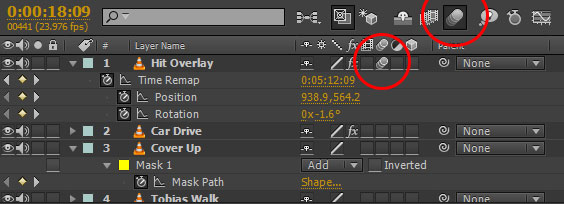
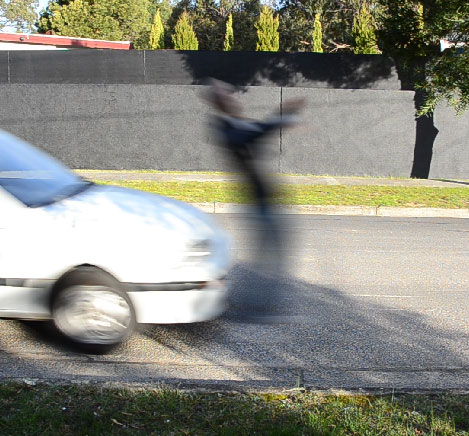
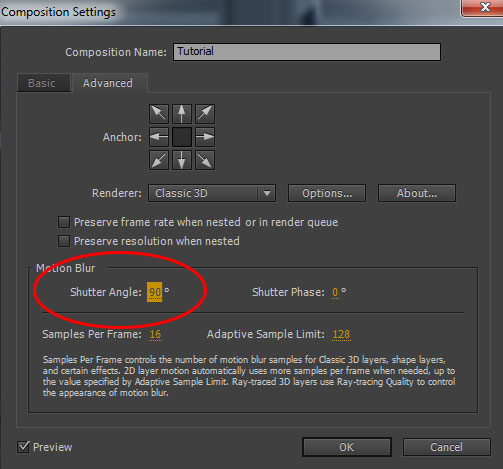
If the motion blur is too strong, you can tweak it by adjusting the shutter angle of the composition. You can find the shutter angle option under the ‘Advanced’ tab in the composition settings. I like to set mine to 90 degrees. If you’re not sure how this works, I have a Shutter Angle Tutorial that explains what it is and why it is useful :)
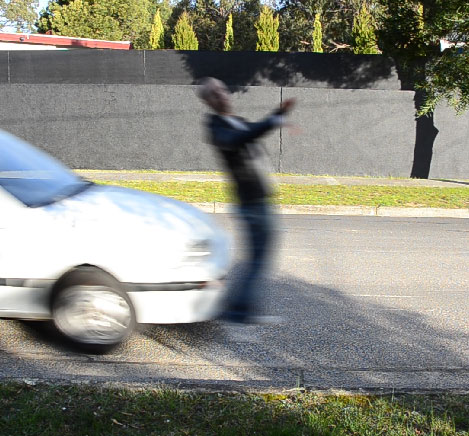
And with that, your car hit will be complete! Have fun with this effect!


3 Responses
nice
from where can I download video to practice this?
thank you very much bro