Welcome to my first After Effects tutorial! A while ago I created this visual effect of making fire with your hands.
When you create your videos, many different situations might require you to add visual lighting effects in post production for things like gun muzzle flashes, lightning strikes, explosions, artificial light sources and more. However, many YouTube videos I’ve seen use a rather unsightly technique of placing a masked orange or white circle over the footage and setting the blending mode to additive… not a very elegant or convincing effect.
Fortunately, you do not need to put in much additional work to make your visual lighting effect look a lot more convincing. By using a simple matte layer, you can make your effect look more organic and blend much better into your footage :)
The Basic Effect
Here is a still frame from my visual effect video Making Fire With Your Hands:
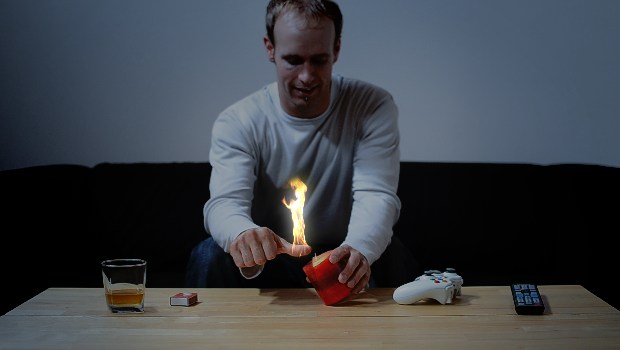
In After Effects, I have set up 2 layers: one for the base footage called ‘Footatge Comp’ and one for the fire element called ‘Fire Comp’, placed on top and positioned and scaled so that the flame sits nicely on my thumb. The fire element is a stock footage element from the Video Copilot’s Action Essentials 2 collection.

Now that we have the basic footage set up, let’s add an organic lighting effect to the fire element :)
Create a new solid layer, name it something like ‘FireShine’ and give it an orange-yellow colour to match the colour of the flame. Using the masking tool, draw a circle on the FireShine layer and position it so that the centre of the circle is exactly over the fire. Add a fairly large amount of feathering to the mask to have the light fade off gradually.
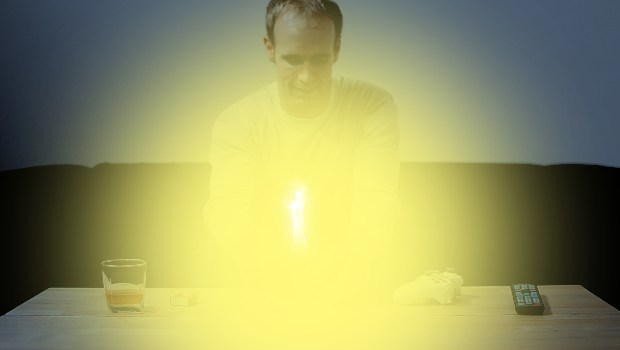

The lighting of the candle is way too strong, so reduce the transparency of the FireShine layer down to around 35%. Change the blending mode to ‘additive’. Voila, you are done!
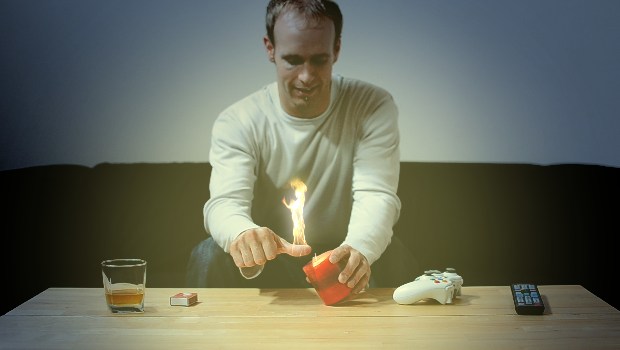

Ok ok… just kidding :D While this visual lighting effect might not look all bad, let’s make a small modifications to our fire shine to make it sit much more naturally in the scene rather than on top of it :)
Creating A Lighting Matte For The Fire
The biggest problem with the above approach is that the shine of the light does not interact in any way with our base footage and thus appears to be stuck on top of it. One way to improve this would be to create many small masks on the FireShine layer to light up highlighted areas like face, arms, fingers, table and other elements that would be affected in real life by a light source at that position. However, there is a much simpler way: using a matte layer for the light.
A matte is a layer that is used to define the transparency of the layer directly below it. By creating a matte based on our footage and applying it to the shine of the fire, we can tie the lighting effect and the footage together organically :)
Duplicate the ‘Footage Comp’ layer and place the copy above our FireShine layer. Rename the layer to ‘Light Matte’.
Notice that the new layer will hide the FireShine layer, but that is ok – we just want to be able to see the Light Matte while we make adjustments. Once we are happy with our matte, we will hide it and apply it to the FireShine layer.

We want to use the brightness of the footage to define how strongly the light shine will affect it. Bright areas will receive a lot of shine, dark areas will receive very little. Now I know that this is not how it works in reality, but we just want to blend the FireShine layer more organically into our footage. Additionally, keeping the dark areas dark will retain shadows and thus enhance the feeling of a real light source being present in the scene.
Now let’s get to adjusting our matte so we can use it :)
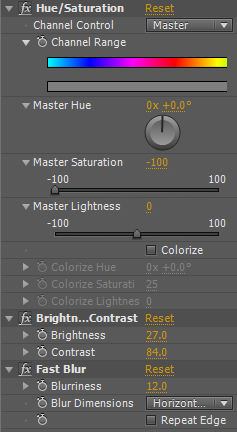
Apply a hue/saturation effect to the Light Matte and fully desaturate the image. Now, add a brightness/contrast effect and increase brightness and contrast to bring out the bright and dark areas of the footage. Since the footage is a little grainy and fire glow is usually fairly soft, I have also added a fast blur effect to the matte to smoothen it all out a little bit. These are the effects on the Light Matte layer:
Your Light Matte (with the FireComp layer still visible on top of it) should now look so something like this:
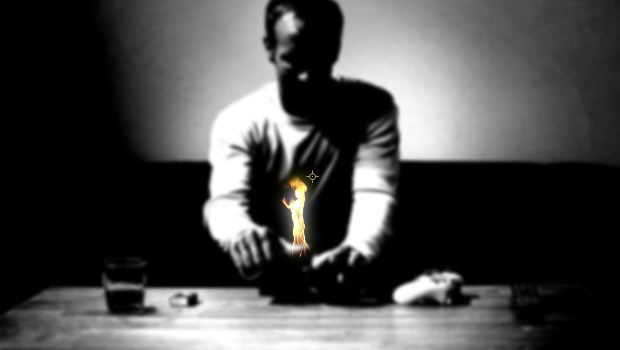
Now all that is left to do is to apply our Light Matte to the FireShine layer!
To do this, turn off the visibility of the Light Matte layer. Select your FireShine layer and set the track matte from None to Luma. ‘Luma’ means brightness and indicates that the alpha for our FireShine layer will be taken from the brightness of the layer directly above it, which is our Light Matte layer.
So wherever our Light Matte layer is black, the transparency of the FireShine layer will be 0%. Wherever the Light Matte is white, the FireShine layer will be fully opaque. Gray levels specify different levels of semi-transparency :)
You can quickly check how our FireShine layer looks now by settings its blending mode back to ‘Normal’. I also turned off the FireComp layer to show only the FireShine affected by the Light Matte:
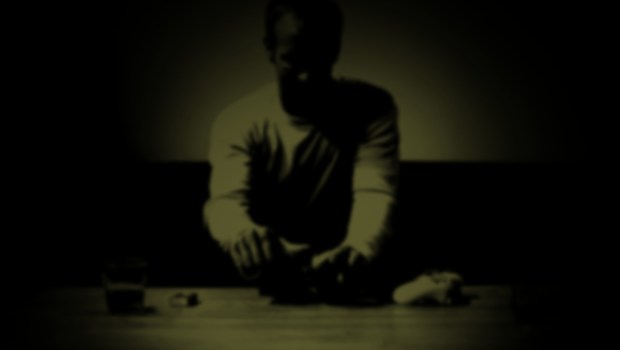
Now, this more sophisticated FireShine layer can be applied to our scene by setting its blending mode to ‘additive’! The final scene looks like this:
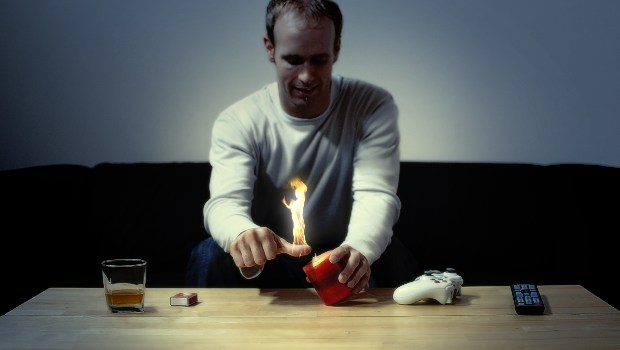

Voila, the candle light suddenly sits a lot more organically on your footage as the affected areas are literally defined by the footage :) While this may not be the most realistic way, it is fast and easy to do and does look a whole lot better than simply ‘adding’ a light layer over your shot!
Happy lighting! :)


7 Responses
How to create lighting effect in dim light or in night time for muzzle flashes ??
You can use this technique no matter what the lighting situation is. You may just have to adjust the brightness of your lighting layer and the details of the masks.
Can you please make a video tutorial on this? Pweeeasssee?
I am using this very technique in my Muzzle flash and Explosion tutorials so go check those out!
how did u made fire sparks at first plz give me the websute
Nice tutorial but is there away we can download your video so we can practice on after effect just like videocopilot
Hi, thank you! All my videos are available for free on YouTube, I don’t have them as downloads per-se anywhere