In the last part of my 3D integration VFX tutorial I talked about the theory of 3D integration and all the steps that are involved in it.
In this tutorial I cover the first step of this process and take you along on an actual shoot for some cool 3D VFX :)
What you need
The first thing you need is a plan!
You should always shoot a scene with the final VFX in mind and this is particularly important for 3D integration VFX. Since they tend to be much more complicated and need strong integration with the actors and the environment, trying to tag them on as an afterthought does usually not work out well.
You will need to properly instruct your actors because they may have to interact with elements that don’t yet exist. You may also have to integrate special effects into the shot that are then caused by a virtual alien creature you are planning to add into the scene afterwards.

To integrate any 3D effects into your footage, you will have to recreate your scene as accurately as possible inside your 3D program in post production.
Therefore, one of the most important things you can bring on a shoot for 3D integration effects is pen & paper and a measuring tape!
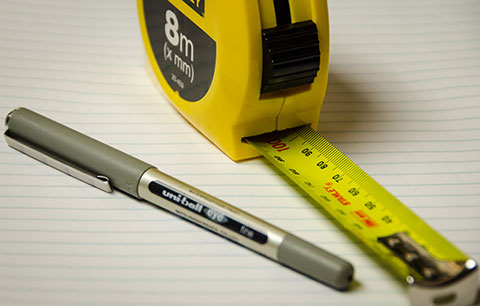
Camera Information & Scene Measurements
When trying to recreate the scene inside your 3D program, you will need to match up the physical camera as well as the measurements of the scene and all relevant items in it.
Before you shoot your footage, you should pause to write down the following settings of your camera:
- Focal length
- Aperture
- Shutter Speed
- ISO
- White Balance
- Height off the ground
- Focal point
Then take your measuring tape (that you totally did not forget to bring!) and measure any relevant items in the scene as well as how far they are from one another. Remember, you have to rebuilt this exact scene in your 3D program and it will be hard to fudge your way through it, so measure as much as you can.
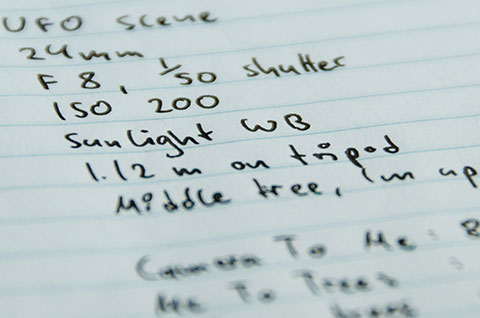
You can’t write down too much information, only too little :)
Light, Shadows & Reflections
In order to properly integrate your 3D objects into the real live footage, they will need to be properly lit, cast shadows and have reflections. This, of course, depends on any lights, shadows and reflective surfaces you have in your actual scene when you do the shoot and you should be consciously aware of them.
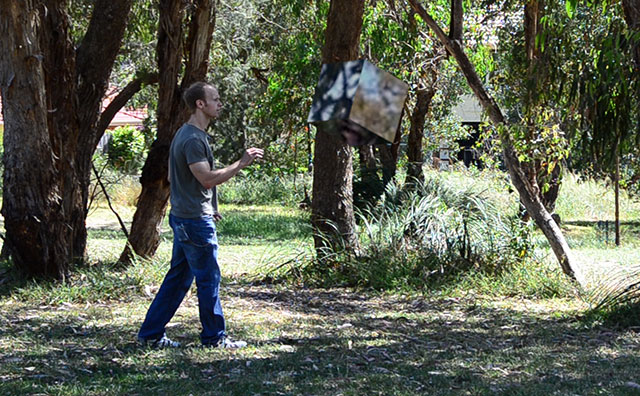
For the floating cube scene, the cube will be illuminated by the light filtering down through the trees and, because the light is coming from above, the cube will have to cast a shadow on the ground. There are no reflective surfaces in the scene so we’re good for that :)

The UFO scene is even easier because the UFO will appear far to the left in the sky way above the treeline. We still have to ensure it is properly lit to fit into the scene, but any shadow would fall towards the left out of the shot and there are no reflective surfaces to worry about.
Actually I should have shot the scene with the light going the other way because a shadow falling over the scene would have been a cool element to making the UFO feel threatening, but did not think of it properly when we shot this scene – see where lack of thinking gets you? ;)
Sphere Map
We don’t have any reflective surfaces in the scene, but we do want the floating cube to reflect the environment! For this, we will need to record the environment and we can do that by using something called a ‘Sphere Map’.
A sphere map is a 360 degree panorama image that can seamlessly be wrapped around a sphere – thus the name. Inside your 3D program you can use this sphere map as an environment map that will then be reflected by any virtual elements you create, giving the illusion that the objects are actually placed inside your scene.
Of course your object material has to be reflective for that to happen.
There are several methods to record a sphere map.
During film production, teams will often use ‘chrome balls’, perfectly reflective spheres attached to a small sticks that are moved through the scene in place of virtual actors or objects.
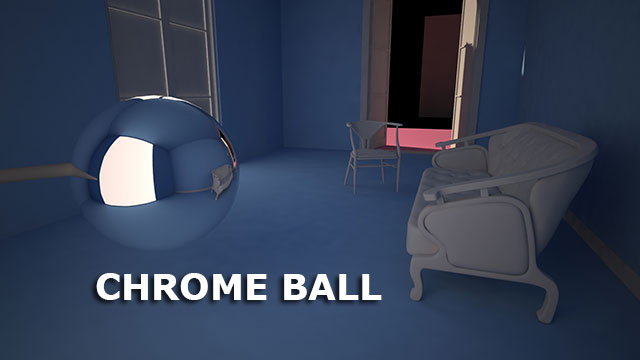
The chrome ball is then recorded, the texture is extracted into a sphere map and applied to any virtual objects that are placed in the scene inside the 3D program. This way, any virtual element moving through the scene will correctly reflect the environment that was captured in the chrome ball at any point in time.
I do not have a chrome ball, and there is a bit of work involved in extracting a clean sphere map from it, so I am going to use an app on my phone instead :)
For the iPhone, you can use an app called ‘Photosynth’ by Microsoft that allows you to record a 360 degree panorama.
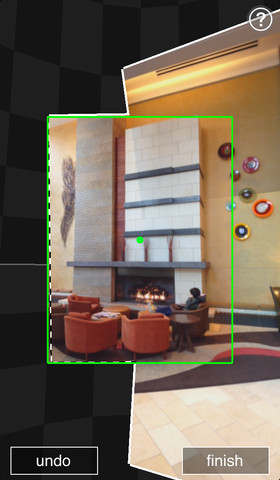
On android, the equivalent is an app called ‘Photo Sphere’, but I you will need Android 4.2 or later for that.
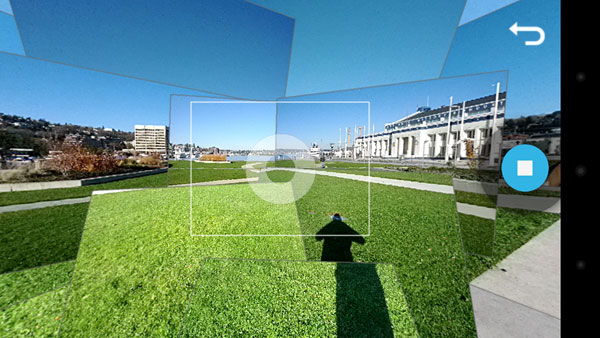
These apps are really simple to use. You simply turn around in a circle and take photos in all directions that will then be stitched together inside your phone into a – hopefully seamless – 360 degree panorama. You can then save this image and access it in the picture library of your phone.
I took a sphere map with my iPhone for the reflective cube scene we filmed and this is what my final image looks like:
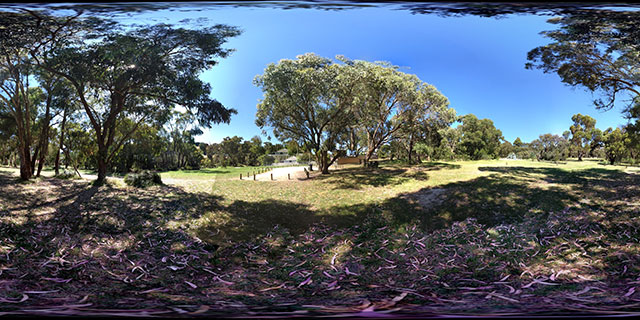
There are a few small seams, but we can fix that up in Photoshop later :)
Reference Photos
This is something a lot of people forget!
While you’re out on set, take a few photos of the scene from different angles and of small objects in the scene just in case you end up needing a texture that matches the ground or a texture to put on a virtual rock you want to add later.
Again, you can’t have too much information, so fire away :D
It’s a wrap!
We now have everything we need to create some cool 3D integration VFX:
- Our Footage
- Camera Information
- Scene Measurements
- Sphere Map
- Reference Photos
The next step is to apply 3D camera tracking to any moving shots so we can export the camera information and set up the virtual scene in our 3D program of choice.
I will cover the 3D Camera Tracker in the next part of this series :)


2 Responses
Another great tutorial (part 1 was too).
Thank you, it helps me… a lot ;)
Nice tutorial… thanks for sharing.