Parenting in Adobe After Effects
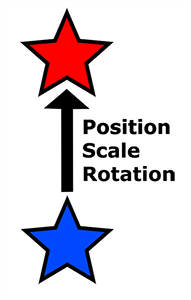
In today’s tutorial we will take a closer look at another very important basic technique available in Adobe After Effects: parenting. Parenting is used to link one or more layers to a single parent layer. Moving, scaling or rotating the parent layer will then automatically affect all of its children.

Parenting allows you to easily control a number of layer by linking them to a common parent. This is very useful for motion tracking and for managing more complex visual effects.
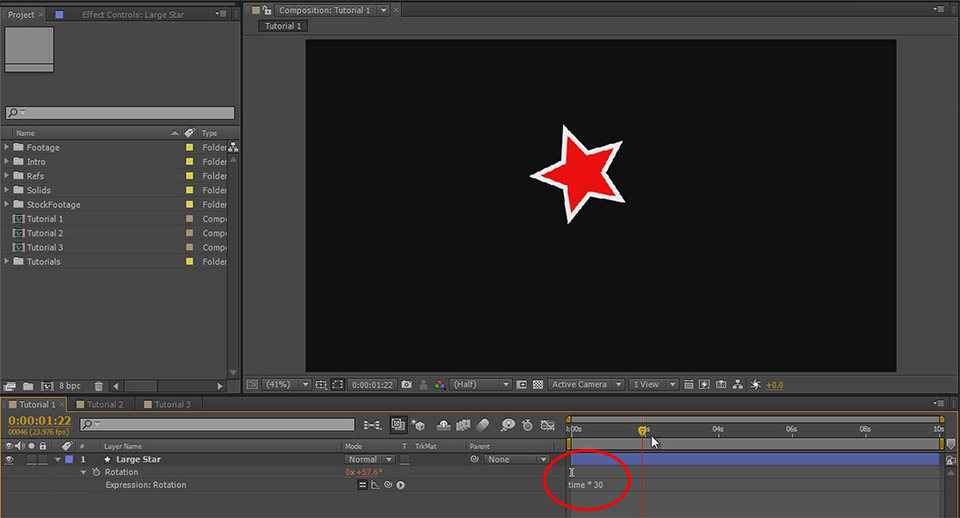
Let’s start by creating a simple rotating star! Start with an empty composition and then, with the star mask tool, simply drag in the centre of the preview window to create a new shape layer containing a star shape. I’ve set mine to use a red fill colour with a white outline and called the layer ‘Large Star’.
Open up the layer settings and alt-click on the stopwatch icon for the Rotation property. This will open up the After Effects Expression editor. In the editor, enter
time * 30
This will cause the star to continuously rotate around its anchor point.

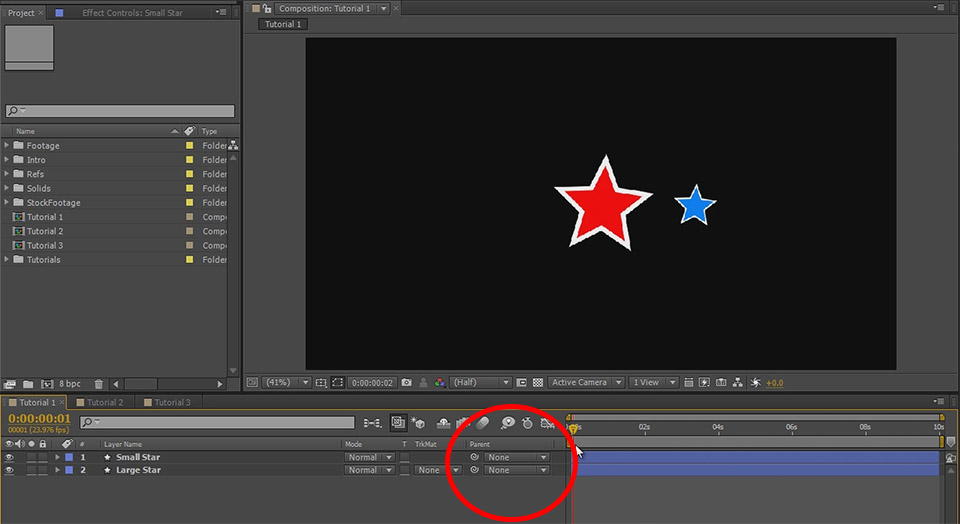
Now create a second star, smaller than the central one and off to the side. Give it any colour you like and call it ‘Small Star’.
Let’s parent these two layers together. In the layer properties window you will find a column called ‘Parent’. Press F4 on your keyboard if you cannot see this column; it might just be hidden.
To parent the small star to the large star, drag the pick whip icon from the small star layer onto the name for the Large Star layer.

Alternatively you can select the Large Star layer from the parent dropdown menu on the Small Star layer.

If you scrub through your composition now, you will see that the little star is ‘pulled along’ as the large star rotates. This is happening because the Small Star layer is a child of the Large Star layer so the rotation to the parent is also applied to the child.

Now that we’ve got a hang of the basics, let’s move on to a few more complex examples!


