You can use Motion Sketch in Adobe After Effects to hand animate the movement of any layer in your composition. You can combine this technique with Null Objects and Expressions to gain full manual control over any effect parameter or layer property that you want. In this tutorial I will show you how to accomplish both of those tasks.
What is Motion Sketch?
Motion Sketch is a feature in Adobe After Effects that allows you to record keyframes for the movement of any layer with your mouse in real time. This is why it is called ‘Motion Sketch’: you are literally sketching the motion of an object in your scene.
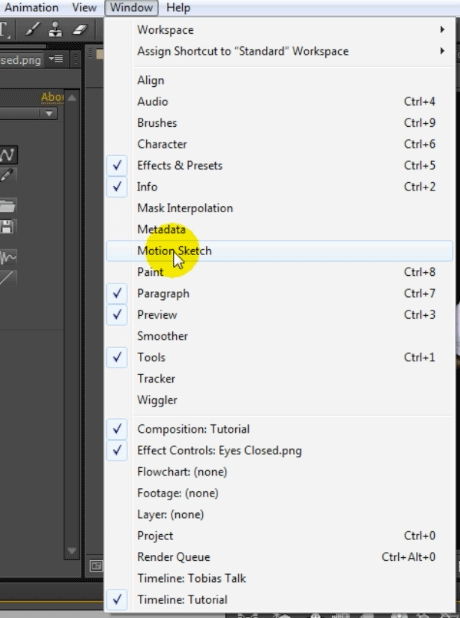
To see the Motion Sketch panel, go to the main menu and select View -> Motion Sketch.
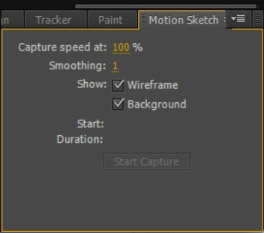
The Motion Sketch tab will appear in one of your panels on the After Effects interface. Motion Sketch is pretty simple and offers only a small set of options:
- Capture speed: the speed at which your composition will play back during live recording
- Smoothing: how much smoothing will be applied when calculating the final recorded keyframes
- Show Wireframe/Background: determine if you want to see a wireframe representation of your layer as you are moving it around and whether to show the composition background
Note that the Start Capture button will be greyed out until you have selected a layer in your composition.
Now that you are familiar with the available Motion Sketch tools, let’s use them to animate a layer in our composition!
Using Motion Sketch to capture Animation
The primary function of Motion Sketch is to move an object around in your preview window with the mouse and have After Effects record this movement as a series of keyframes. To follow along with this tutorial, you can download and use the images that I will be using here:
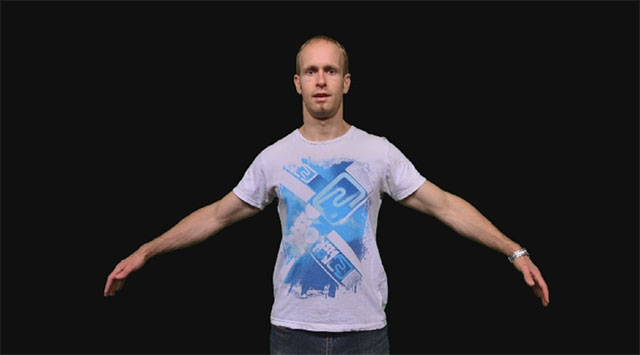
Create a new composition and add the two images into it. Since we only need the Wide Cutout image for the first part of this tutorial, disable the visibility of the Eyes Closed layer for now.

Scale down the wide cutout so it sits in the middle of your scene.
Now let’s use Motion Sketch to animate the movement of the Wide Cutout layer.
1. Move the timeline indicator back to the beginning of the composition and select the Wide Cutout layer. The Start Capture button in the Motion Sketch panel will become enabled.
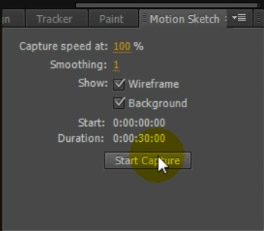
2. Click on the Start Capture button. This will transform your mouse cursor into a little crosshair when you’re moving over the preview window.
3. Click and drag in your preview window to start the recording. After Effects will automatically start playing back your composition. Until you release the mouse button, any mouse movement will be recorded as position keyframes onto the selected layer.
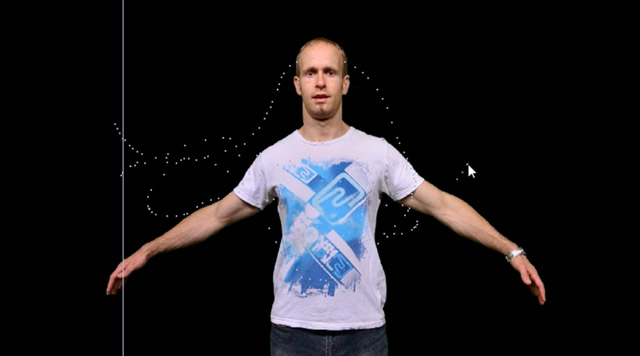
Unfortunately, this is where you will encounter one of the limitation of Motion Sketch: aside from an outline of the layer you are moving around, you will not see any other elements in your preview window update or animate. This can make it difficult to match the movement of your object up with your footage or other animated layers. I really hope that Adobe will get around to fixing that someday!
Once you are done recording, simply release your mouse button. Playback will stop and After Effects will apply the captured mouse movement as keyframes to the Position property of the selected layer. If you now play your composition back, the layer will animate the way you moved it around with your mouse.

Animating the position of the layers in your composition is the primary function of Motion Sketch. However, one thing that I actually use it for even more is to gain full manual control over my effect parameters. Let me show you how we can achieve that!
Using Motion Sketch to Control Effect Parameters
We will be using Motion Sketch to animate the closing eyes of the puppet as can be seen in my Adobe After Effects puppet tool tutorial. For this, make sure your Eyes Closed layer sits on top of the wide cutout and re-enable the visibility.

Now position the closed eyes image exactly on top of where my open eyes are. Scale it as needed to make it sit exactly over my open eyes. You may also have to apply a Curves effect to adjust the brightness of the layer to blend it more naturally into the scene.
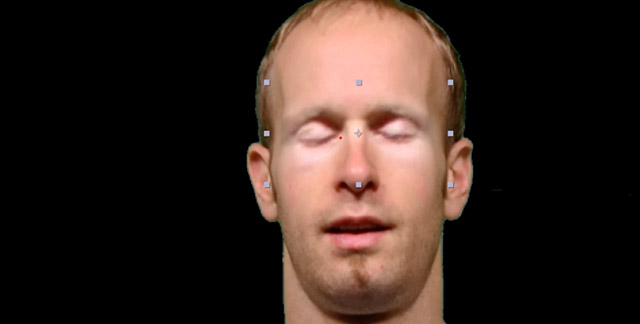
If you toggle the visibility of the Eyes Closed layer it should appear as if I am blinking. For the puppet tool tutorial I needed my eyes to blink regularly over a fairly long period of time. We could animate the opacity of the Eyes Closed layer, but we’d have to add a few hundred keyframes and that can quickly become rather tedious. Instead, we will use Null Objects and Expressions to allow us to record the visibility of the closed eyes with Motion Sketch!
First, create a new Null object in your scene. I called this new layer ‘Eyes Control’. Select the Null object and reveal the position property by pressing ‘p’ on your keyboard.

We will link the vertical position of the Null object, the y coordinate, to control the visibility of the Eyes Closed layer. I want the eyes to be visibility only when the Null object is more than halfway down the screen. If the Null object is in the top half of the scene, the closed eyes will not be visible.
To do this, reveal the opacity on the Eyes Closed layer and add a simple expression. Use the Pick Whip icon to select the y coordinate of the Position property on the Eyes Control Null object to insert it into the expression editor.

Then complete your expression to:
thisComp.layer("Eyes Control").transform.position[1] > 500 ? 100 : 0

This expression says: whenever the y-coordinate of the Eyes Control Null object is larger than 500, set the opacity of the Eyes Closed layer to 100. Otherwise set it to 0.
If you now select and drag the Eyes Control layer around, you will see my eyes close whenever the Null object is more than 500 pixels from the top of the window.

Finally, all we have to do is use Motion Sketch to animate the position of the Null object throughout the composition. Every couple of seconds, move the Null Object down below the 500 pixel line to cause the Eyes Closed layer to appear and then bring it back up.
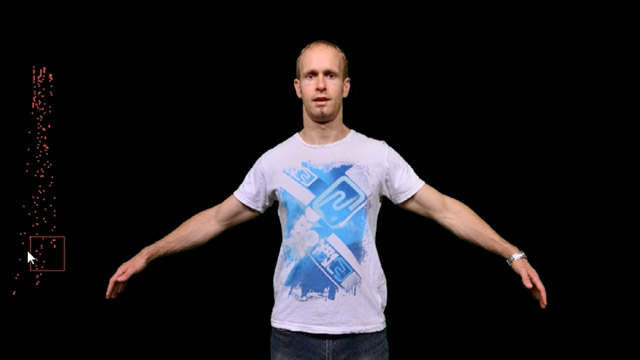
Once you let go of your mouse, After Effects will add keyframes to the Position property of the Null object to record the movement of the mouse. If you now play back the composition, it will appear as if the puppet is blinking.

Now, while this seems rather simple, just think of the possibilities! You can hook up Null objects to ANY layer property or effect parameter that you want. Then, rather than manually adding hundreds of keyframes, you use Motion Sketch to control and record changes to the property of parameter very easily.
I love using Motion Sketch for animating layers and for making recording of keyframes and controlling my VFX easier. And once you start using this technique, I am sure that you will too.


5 Responses
thank u.really marvellous tutorials
Great, thank you for this. Really helpful!
kool
Where i find this Pluggin?
It’s part of After Effects :) It’s not a separate plugin, but you may need a more recent version of AE if it’s not in yours