In my recent tutorial on how to composite fireworks in Adobe After Effects, I skipped out one small step because it wasn’t essential to the tutorial and the video was already getting a little long. In the first and the last shot of the tutorial, you can see the skyline behind me illuminated by lights coming from the windows of the buildings, adding a nice night time feel to the scene.
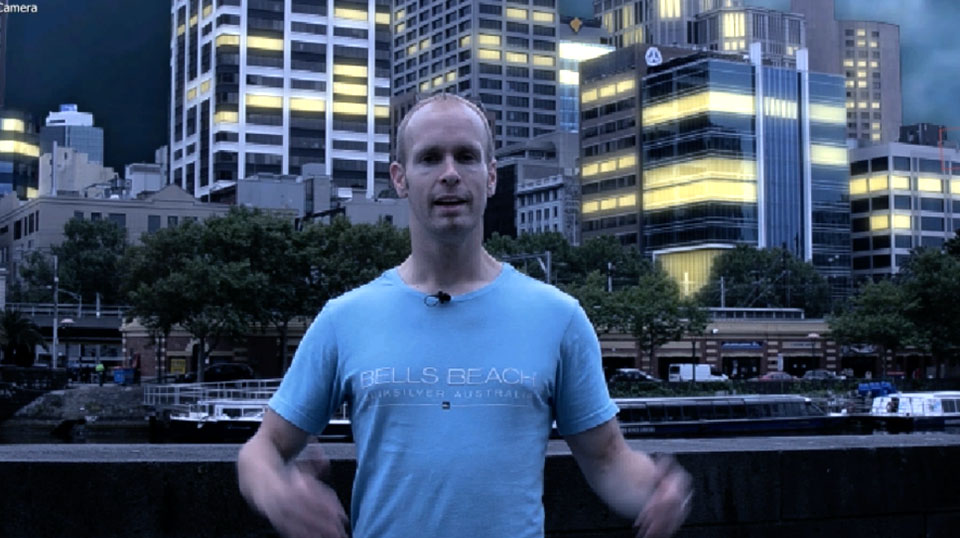
In this quick tutorial I am going to take you through how I added those lights into the buildings in the background. This is surprisingly easy, but can be quite time consuming as it requires a lot of detailed masking work.
Preparing Your Footage
I will assume that you have completed my After Effects Fireworks Compositing tutorial and have properly tracked your footage, masked out the skyline and added the fireworks elements into the scene. I am not going to repeat the entire tutorial here, we will simply continue on from where we left off.
The first thing you need to do is add a new solid into the scene for the city lights. Since we want this solid to follow the camera’s movement correctly, we can simply duplicate the City Matte layer we already have and place the copy on top of the composition. Since the City Matte we duplicated had a number of masks on it that we do not want to use, simply expand the layer and delete all of these masks on it.

Rename the layer to ‘City Lights’ and change the colour to something a bit more suitable, like a light yellow. Set the blend mode of the layer to ‘Add’ and temporarily lower the opacity to around 10% so you can see what is going on while you’re working with it.

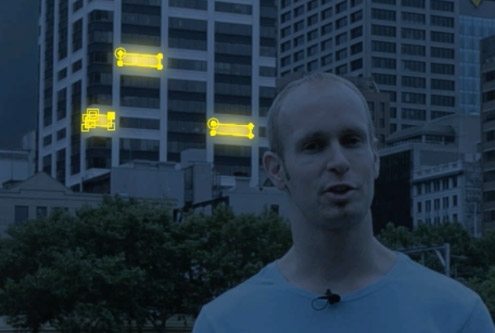
Now take the pen tool and draw a mask onto the City Lights solid, just around one of the building windows in the background
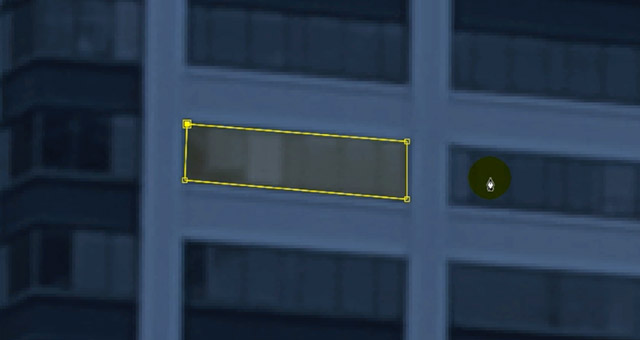
Bring the opacity of the City Lights layer back up to around 50% so that you can clearly see the light from the window. You now have an illuminated window and since it is sits on a tracked 3D layer in your scene, it will follow the movement of the camera automatically.

Be sure to enable to motion blur switch on the layer and on the composition so the bright window will receive motion blur and blend in better with your scene.
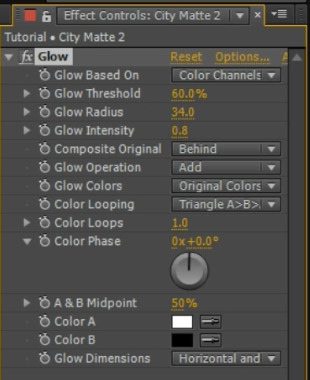
Next, apply a Glow effect to the City Lights layer and adjust the Glow Radius and Glow Intensity as you like until your window has a nice night time glow. You can learn how to use the Glow effect in my separate tutorial on how to make things glow in After Effects.
After adding the Glow to the window, the city light will spill more organically onto the buildings in your scene.
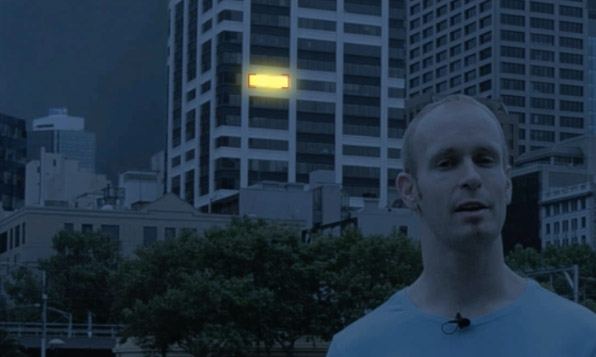
Finally, rinse and repeat for every single window in your scene that you want to add light to. I did that a couple of hundred times. One tip to make this a little bit more realistic is to vary the Mask Opacity property a little bit for each mask so the windows don’t all cast the same amount of light.
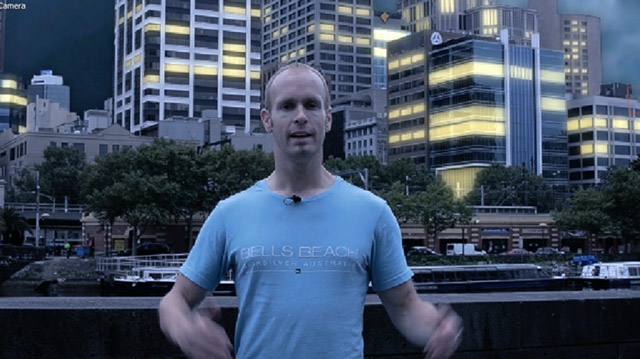
Once you’ve done this for all the windows in your scene that you want to receive light, your final composition should look something like this:
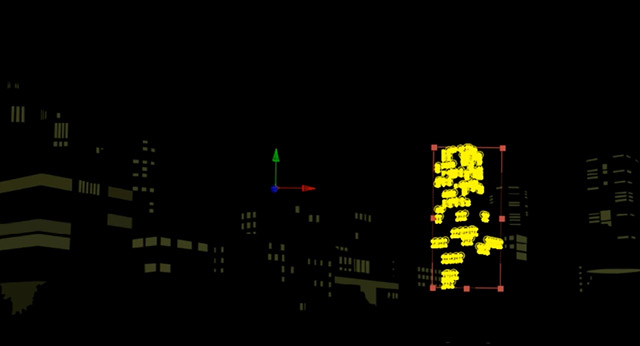
And that’s all there is to it! It took me a few hours to draw all the masks on precisely and because After Effects was getting slower and slower the more masks I added to an individual layer. To ease the load, I split my city lights up into separate solid layers, one for each building, and placed those layers inside a nested composition. Here is a screenshot of the contents of my city lights composition.
When converting a shot to look like it was filmed at night, adding little details like lights into the scene can do a lot to make the effect look much more convincing. It will be worth the extra effort.


