Check out some of the awesome new features in the latest release of Adobe After Effects April 2017.
Essential Graphics Panel
The new Essential Graphics panel in Adobe After Effects serves 2 purposes:
- It allows you to group together commonly used effect parameters within your composition hierarchy for quick access
- It allows you to export your composition hierarchy as a Motion Graphics Template to be used in Premiere Pro
How it works
When you open up the Essential Graphics panel in Adobe After Effects you select a composition as your root. This defines your ‘composition hierarchy’ as the root composition and any nested composition. You can then drag and drop any effect parameters within this composition hierarchy from your layer window into the Essential Graphics panel, give them descriptive names and adjust them without having to dig through your layers.
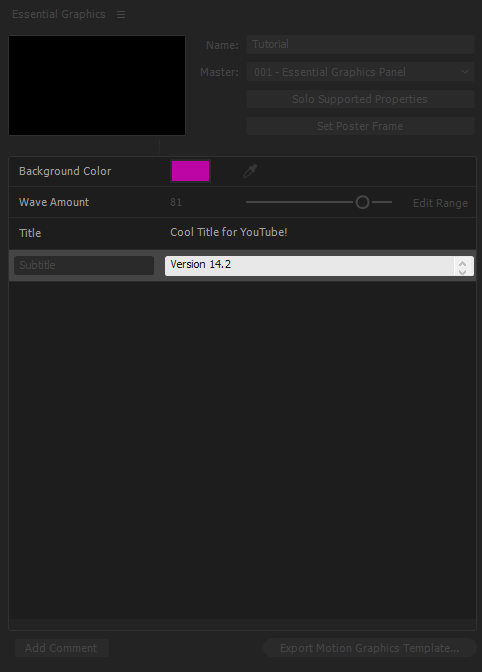
Once you are happy with your setup, you can export the composition hierarchy as a Motion Graphics Template.
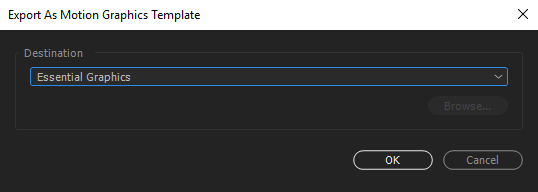
All parameters in the Essential Graphics panel will be exposed and can be adjusted when you use the template in Adobe Premiere Pro.
Motion Graphics Templates
Live Text Templates have gone the way of the Dodo. The new Motion Graphics Templates allow you to create complex animated titles and other visual elements, export your composition hierarchy into an .mogrt file and then import and use the template in Adobe Premiere Pro.
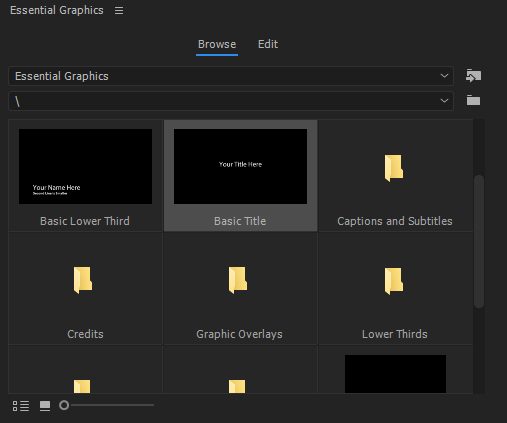
While there are still a few limitations, like not all types of effect parameters can be added into the Essential Graphics panel, the new Motion Graphics Templates is definitely going in the right direction. I really hope that Adobe will keep expanding its capabilities in future version of Adobe After Effects.
Referencing Masks & Effects
Whenever you reference a layer within an effect in Adobe After Effects, for example in the Set Matte effect or even 3rd party plugins like Trapcode Particular, the source of the referenced layer will be used. This means that if the referenced layer has any masks or effects applied, they will not be honoured in the reference – unless you pre-compose the layer.
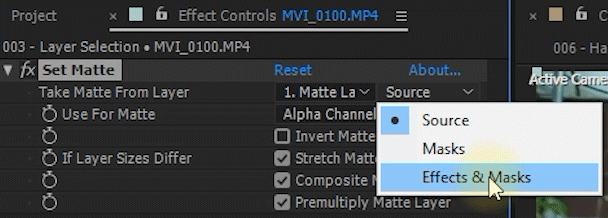
In the April 2017 release of Adobe After Effects, whenever you reference another layer in an effect you can specify whether to use the source, the layer with masks or the layer with masks and effects applied. This might seem like a small thing but greatly reduces the number of layers you need to pre-compose and really speeds up your workflow.
Lumetri Scopes & Lumetri Color
The Lumetri Scopes and Colour tools have been a part of Premiere Pro since CC 2015. Now, with the April 2017 release they are also finally available within Adobe After Effects.
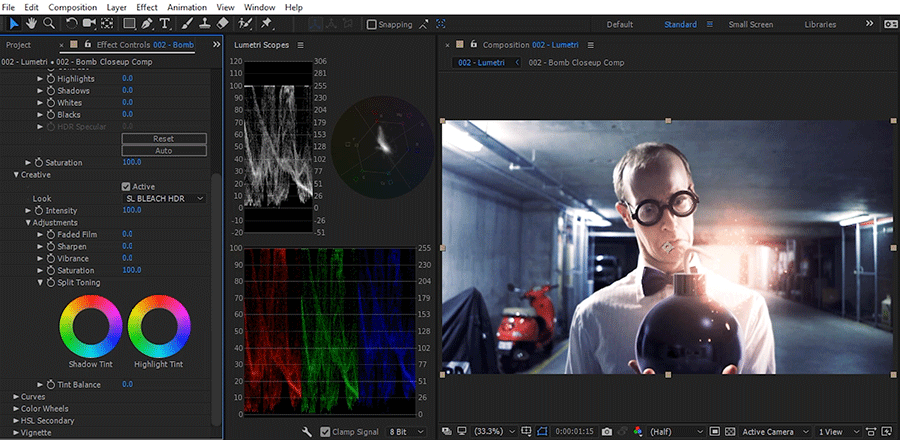
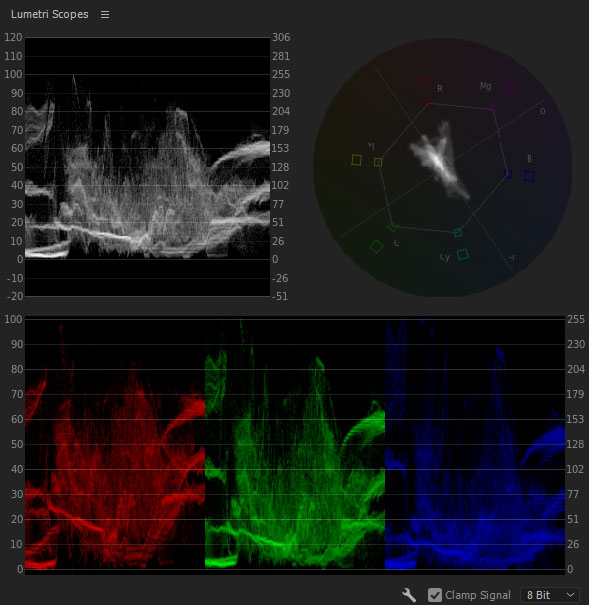
The Lumetri Scopes panel contain waveform monitors, vector scopes and colour parades, everything you need to analyse the colour information in your image.
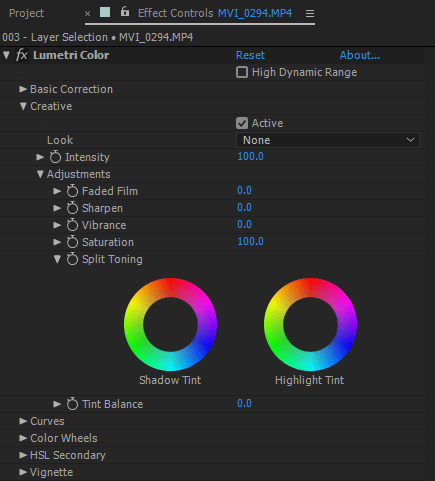
The Lumetri Color panel contains tools for adjusting exposure and levels, applying LUTs and tweaking coloud, everything you need to properly colour correct and colour grade your footage.
Camera-Shake Deblur
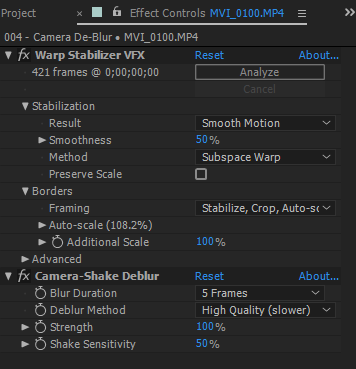
Sometimes your footage contains blurry frames due to camera shake. Even after stabilising the shot, the final clip seems to twitch due to these blurry frames.
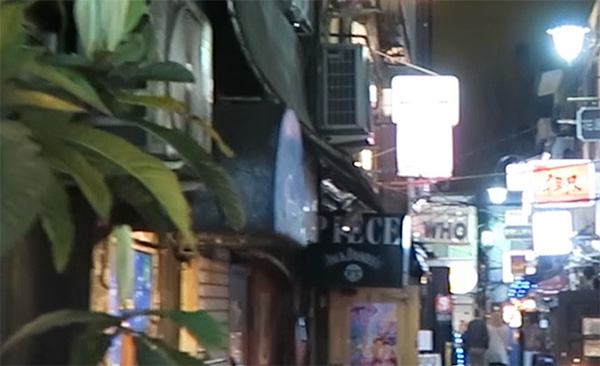
Adobe After Effects April 2017 includes a new Camera-Shake Deblur effect that will analyse your footage and deblur these rogue frames. It is meant to be applied after the Warp Stabilizer to reduce the twitchy look of your footage.
GPU Accelerated Effects
In my opinion, Adobe After Effects has always been fairly behind in terms of GPU acceleration. However, with every release Adobe is adding GPU acceleration to more and more effects. In the April 2017 release, the following effects are now GPU accelerated:
- Drop Shadow
- Fractal Noise
- Gradient Ramp
- Levels
- Offset
- Fast Box Blur effect – replacement for Fast Blur, Box Blur and Gaussian Blur
Check out the official release notes for Adobe After Effects April 2017.


